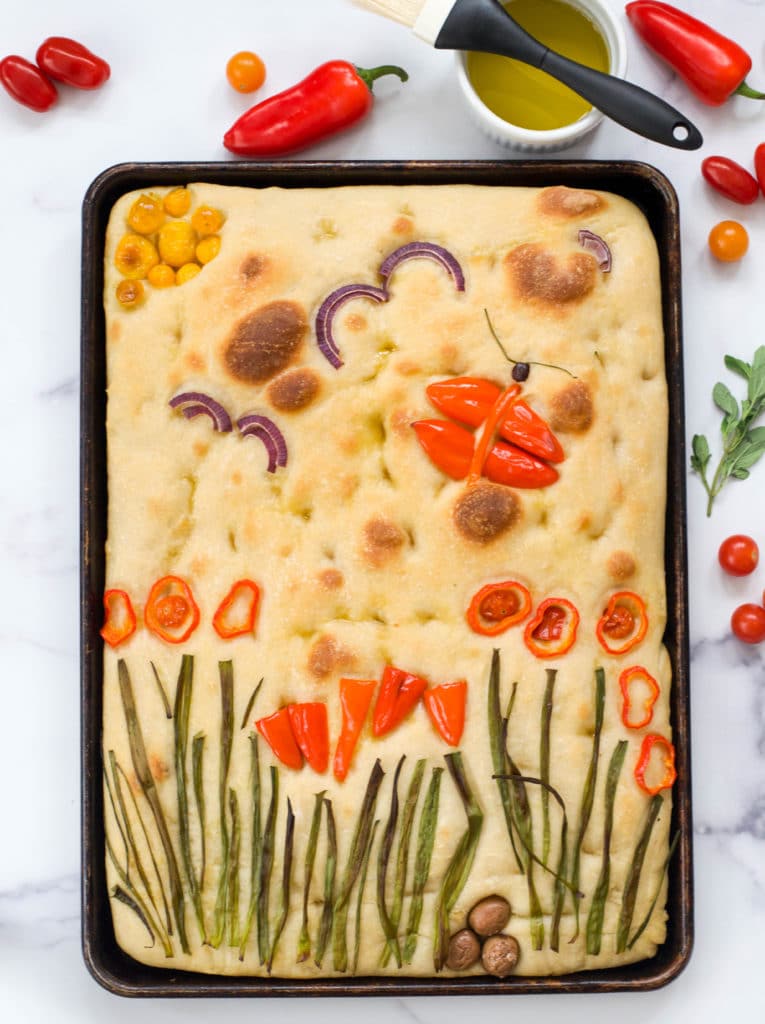
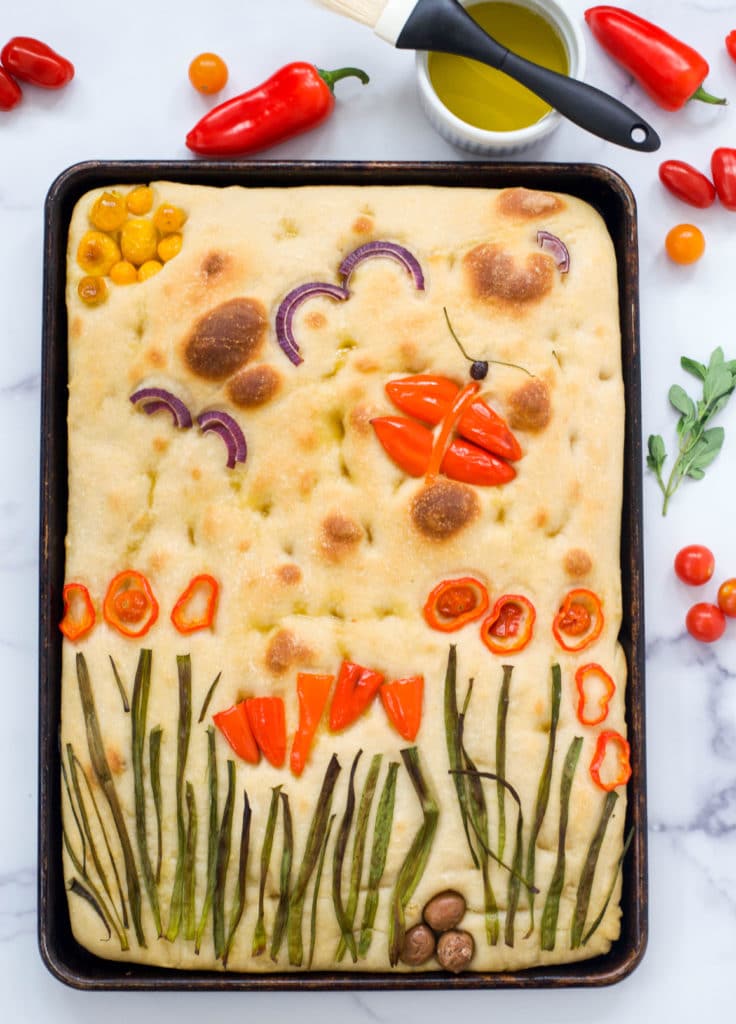
Your focaccia bread dough is a blank canvas! Turn it into art with herb and vegetable decorations for a fun, family-friendly baking project.
There have been so many pandemic food trends over this past year. Remember Dalgona coffee? Pancake cereal? (I opted for cookie cereal instead.) Sourdough? And the latest thing seems to be the TikTok Tortilla Hack or those hot chocolate bombs. (Hot chocolate bombs sound pretty good actually….) I guess too much time stuck at home + too much time scrolling through Instagram and TikTok = much-needed distraction in the form of food.
One of the few pandemic food trends that actually made me want to get in the kitchen and start cooking – as opposed to just continuing to scroll mindlessly – is bread art. Have you seen these stunningly decorated loaves of focaccia on your Instagram feed? I know I have. A Martha’s Vineyard based baker, who goes by VineyardBaker on Instagram, is credited with starting this trend with her exquisite loaves decorated to look like Van Gogh paintings, among other designs.
I actually have been tweaking my own focaccia recipe over the past few months while writing my upcoming cookbook on Mediterranean cuisine for the Instant Pot and air fryer. (Coming this fall!) I include several flatbread recipes in the book and explain how to use the yogurt setting on your Instant Pot to create the perfect environment for proofing bread dough. Pretty cool, right?
So when I saw the stunning focaccia art all over the Internet, I could not wait to try it myself. While I saw many, many examples of highly decorated focaccia, few posts explained how to actually make the designs. Having tried this now a few times, I have discovered some important guidelines.
First, I always recommend a long, slow proof in the refrigerator for focaccia. Eight hours is the miniumum and overnight is even better. More proofing time equals more flavor. After the long, cold-temperature proof, you want to remove the focaccia from the fridge and let it proof at room temperature for about an hour to get nice and puffy before baking.
When decorating the focaccia, you want to wait until about halfway through this room temperature proof to start the decorations so that the bread doesn’t puff up too much and cover the decorations. One way to time it is to remove the bread from the refrigferator and preheat the oven. Start chopping and slicing the decorations, which can be time-consuming. Once you have gotten everything prepped, it will be time to start placing the decorations.
You want to avoid very thin and delicate herbs or vegetables for decorating because the focaccia bakes at a high temperature. The first time I tried focaccia art, for example, I used chives for grass, which looked great, but they burned and became bitter when baked. Scallions, which are thicker, make better grass and flower stems. Just use the dark green part and slice them lengthwise as needed. Olives work well for rocks but you have to press them into the dough well or else they will simply roll off.
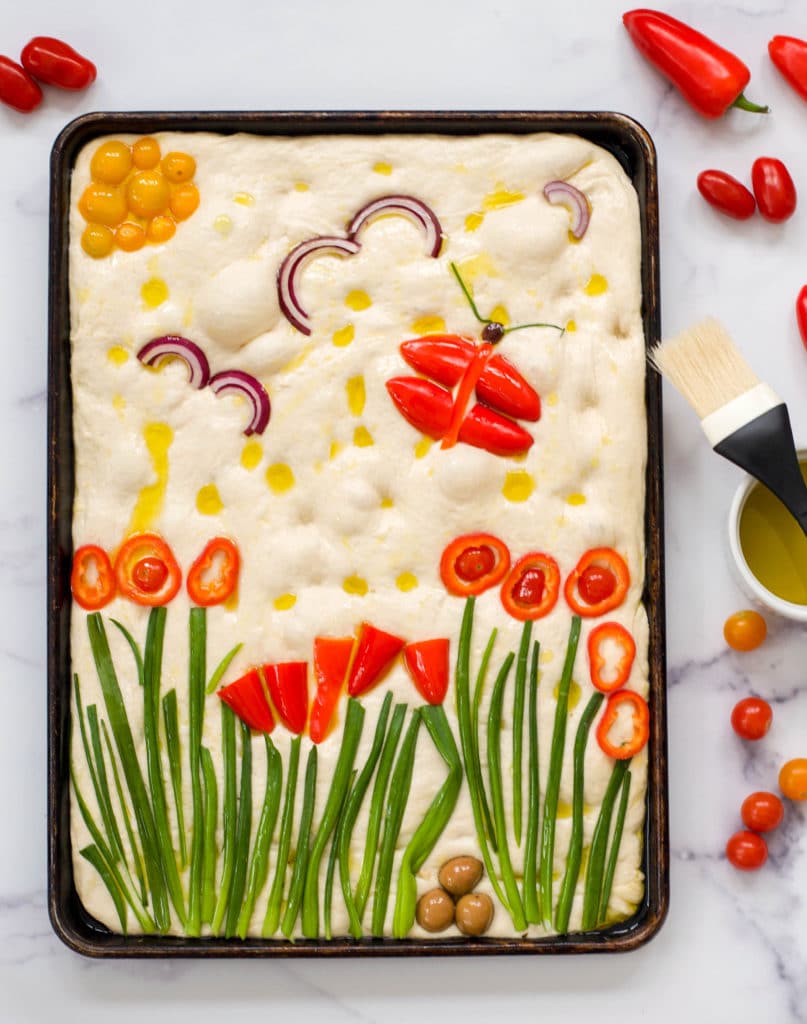
Red and yellow peppers, grape tomatoes and red onions all make excellent flowers and animals and they taste delicious as well when baked. I especially like to use those miniature red and yellow peppers that come in a bag. Cut the peppers into circles for poppies or cut them in half lengthwise and use the pointy bottoms for tulips. A large yellow or orange pepper can be used for the sun. Cut out a circle and then long, thin strips for rays of sunshine. This is a wonderful project to do with children in particular. Let their imaginations run wild!
Lastly, press all of the decorations into the dough and allow the dough to proof over them for 20 minutes or so to ensure that they stay put. And be sure to brush your decorations with olive oil prior to baking to protect them from burning.
How would you decorate your focaccia art? Or is there another pandemic food trend that you are loving right now?
Ingredients
- 2 1/4 teaspoons yeast, instant or active dry
- Pinch sugar
- 2 3/4 to 3 cups warm water, divided
- 6 1/4 cups bread flour
- 1 tablespoon kosher salt
- 7 tablespoons extra virgin olive oil, divided,
- Freshly ground black pepper
- Flaky sea salt
- Decorations: Scallions, parsley and other herbs; red onion; red and yellow peppers; small black or green olives
Instructions
- If using active dry yeast, whisk together the yeast, a pinch of sugar and 1 cup of warm water in a small bowl and let sit until foamy, about 10 minutes.
- Combine the flour, and salt in a large bowl or the bowl of a stand mixer and stir to combine. If using instant yeast, add it and the sugar directly to the flour mixture. Gradually add 2 1/2 cups of warm water to the flour and stir with a fork until a dry, shaggy dough comes together. For active dry yeast, add the water-yeast mixture to the flour and gradually add another 1 1/2 cups of water.
- If using a stand mixer, knead the dough using the dough hook on low speed, gradually adding an additional 6 to 8 tablespoons of water, 1 tablespoon at a time. The dough should be loose and slack and sticking to the sides of the bowl, but not wet or sticky. Continue kneading until smooth and very elastic, about 5 minutes. (Alternatively, knead the dough by hand in a bowl gradually adding the additional water. When you have finished adding the water, turn the dough out onto a lightly floured surface and knead with your hands until smooth and elastic, 5 to 7 minutes.) The dough should be tacky, but not too sticky to work with.
- Add 3 tablespoons of olive oil to a large bowl. (You can simply use the mixing bowl if you prefer.) Place the kneaded dough in the bowl and turn to coat with the oil. Let the dough rise in the bowl, covered, until it is doubled in size, about 1 hour.
- Pour 2 tablespoons of olive oil on a 12x17-inch rimmed baking sheet and brush it all over the bottom of the baking sheet. Add the risen dough to the baking sheet and fold it in half. Turn the dough 90 degrees and fold it in half again. Cover the dough and let it rest for 10 minutes.
- Uncover the dough and gently stretch it, without tearing, to cover the baking sheet in an even layer. (If the dough is springing back, let the dough relax for 5 to 10 minutes, then resume.) Cover tightly and chill the dough for at least 8 hours and up to 24 hours.
- Approximately an hour before you plan to bake the focaccia, remove it from the refrigerator. Let it rise, still covered, in a warm spot for about 30 minutes. Preheat the oven to 450.
- Using your fingers, make small indentations or dimples all over the surface of the bread dough. Brush the remaining 2 tablespoons of olive oil over the surface of the dough and sprinkle with flaky sea salt.
- If you are decorating the focaccia, begin adding the decorations. Add vegetables and herbs in a design of your choice. Ideas include using sliced scallions, green parts only, for grass; parsley and other herbs for leaves and branches; red onion and red, orange and yellow peppers - regular size or miniature - for flowers, animals or the sun; olives for rocks and so on. Press the decorations into the dough and brush with a light coat of olive oil to prevent burning.
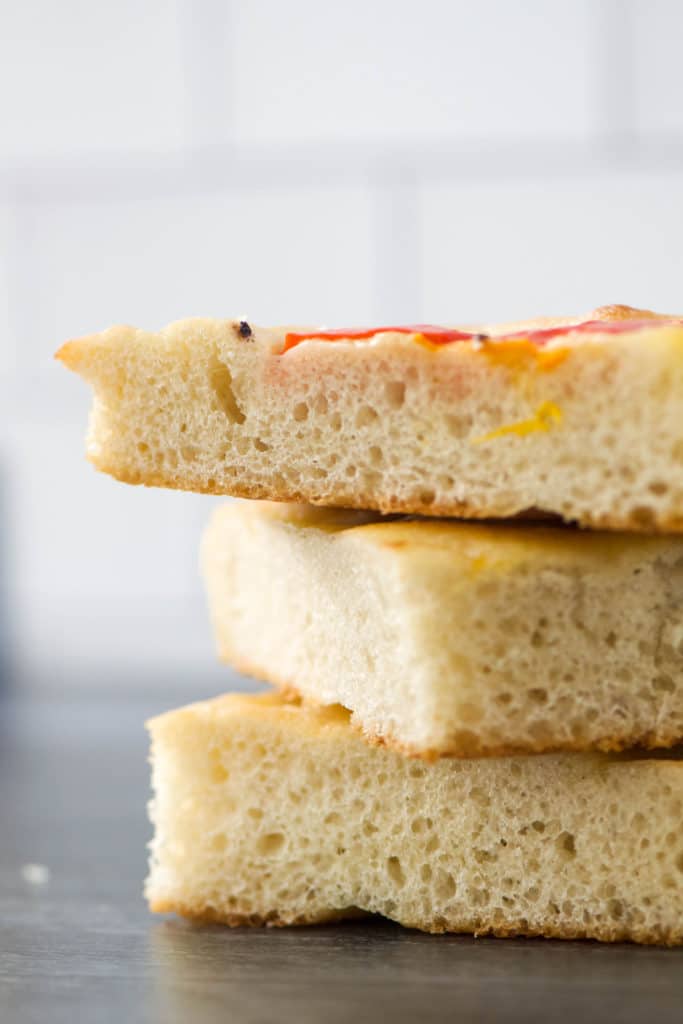
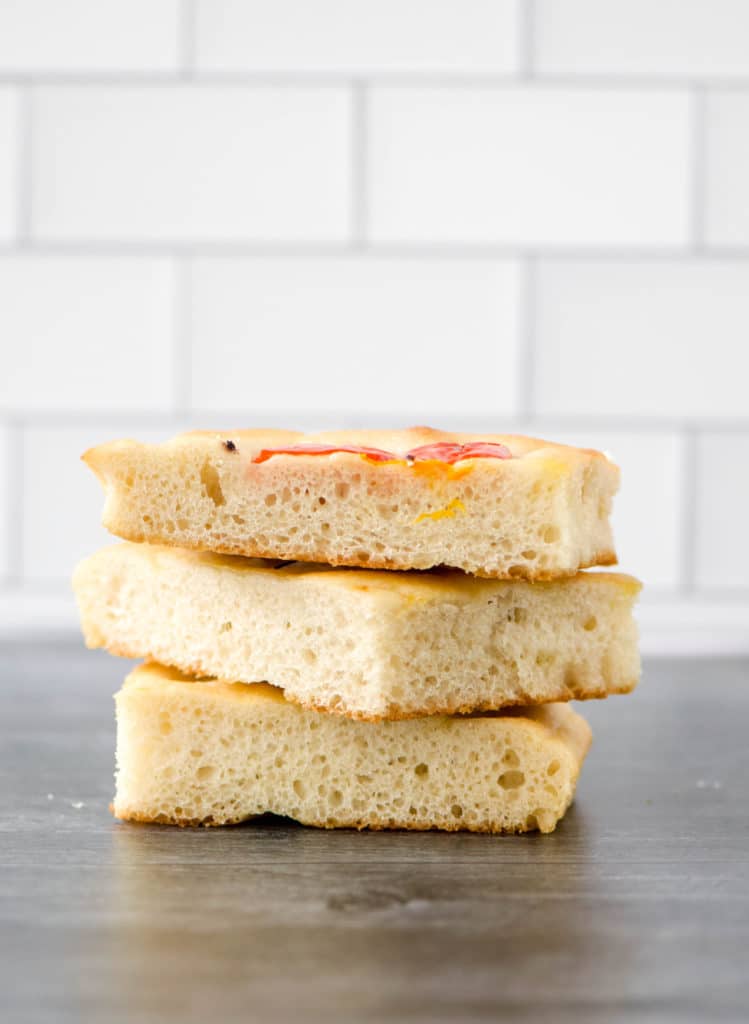
- Bake until the focaccia is golden brown, 20 to 25 minutes. Focaccia is best the day it is made but it may be wrapped up and stored on the counter for up to 2 days.
