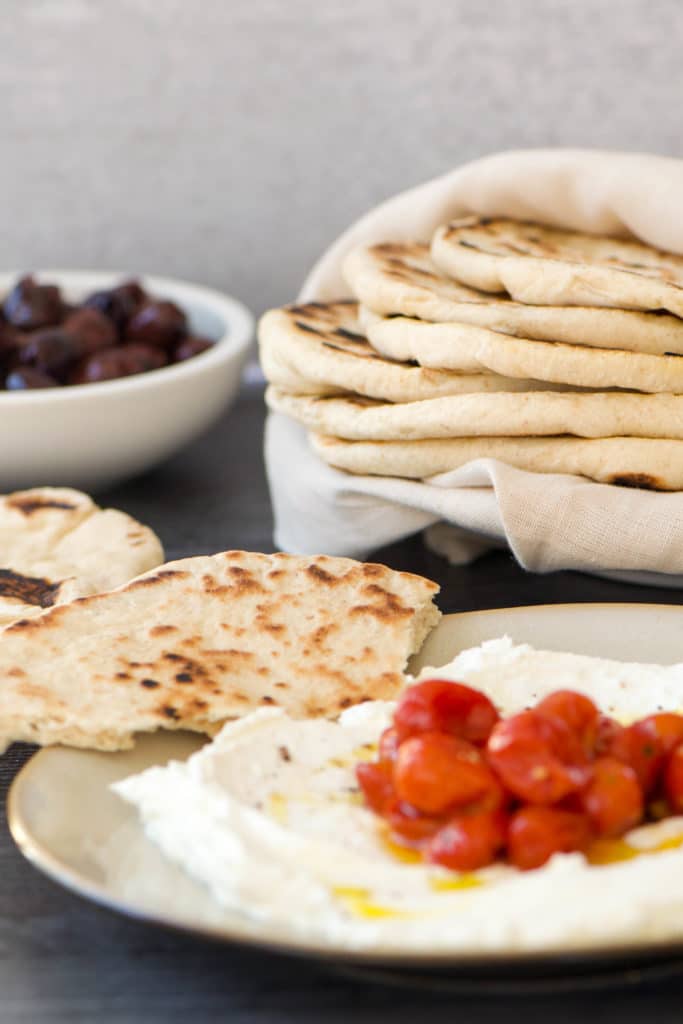
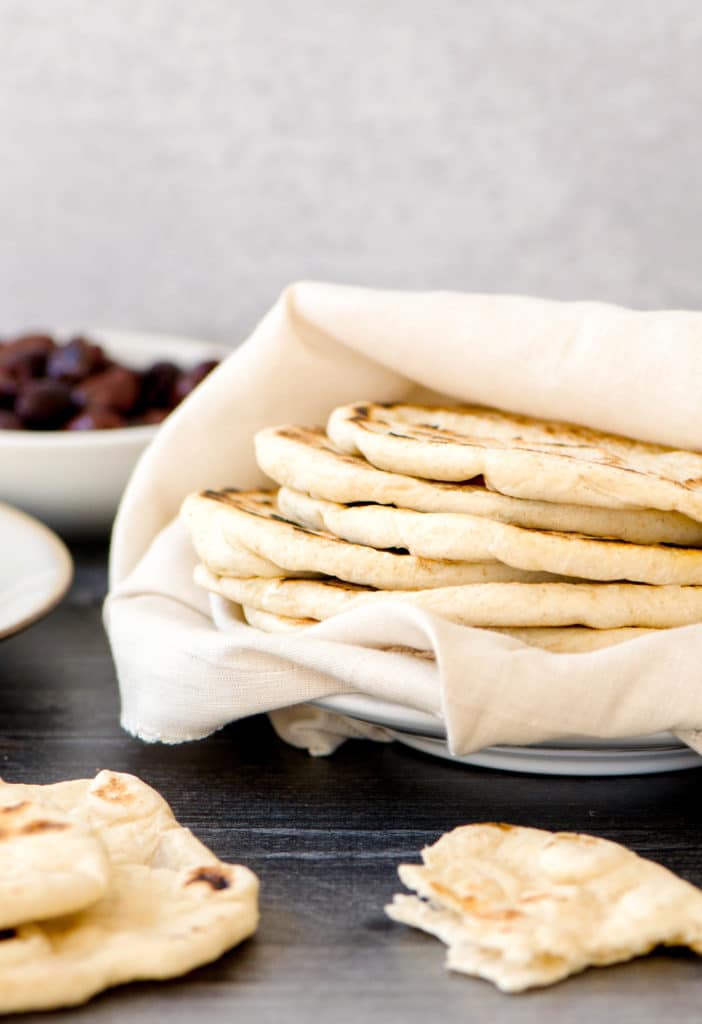
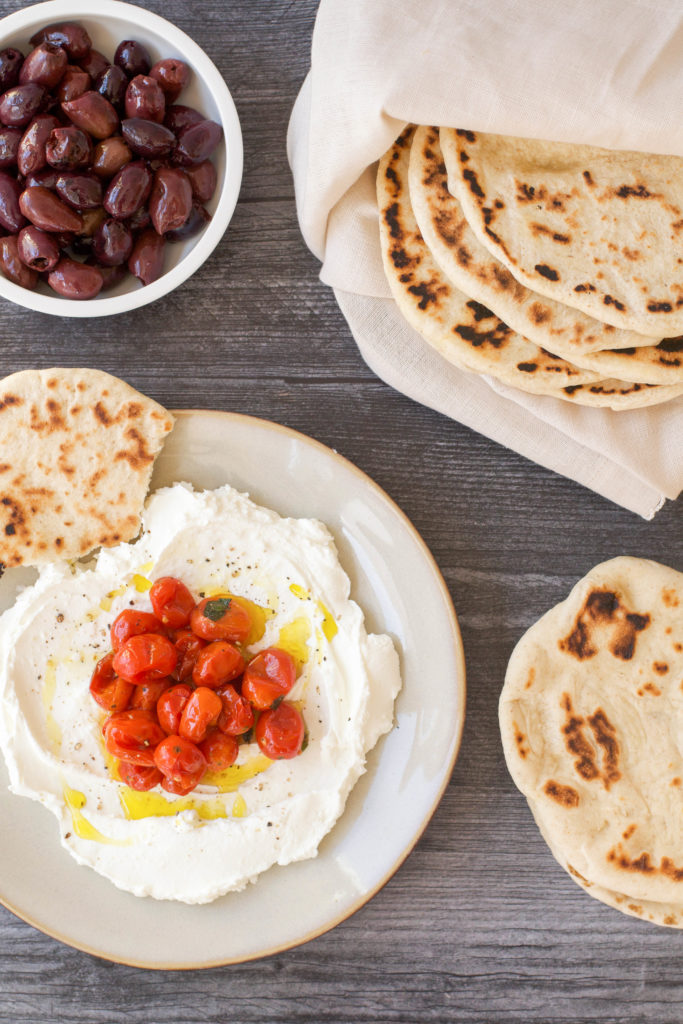
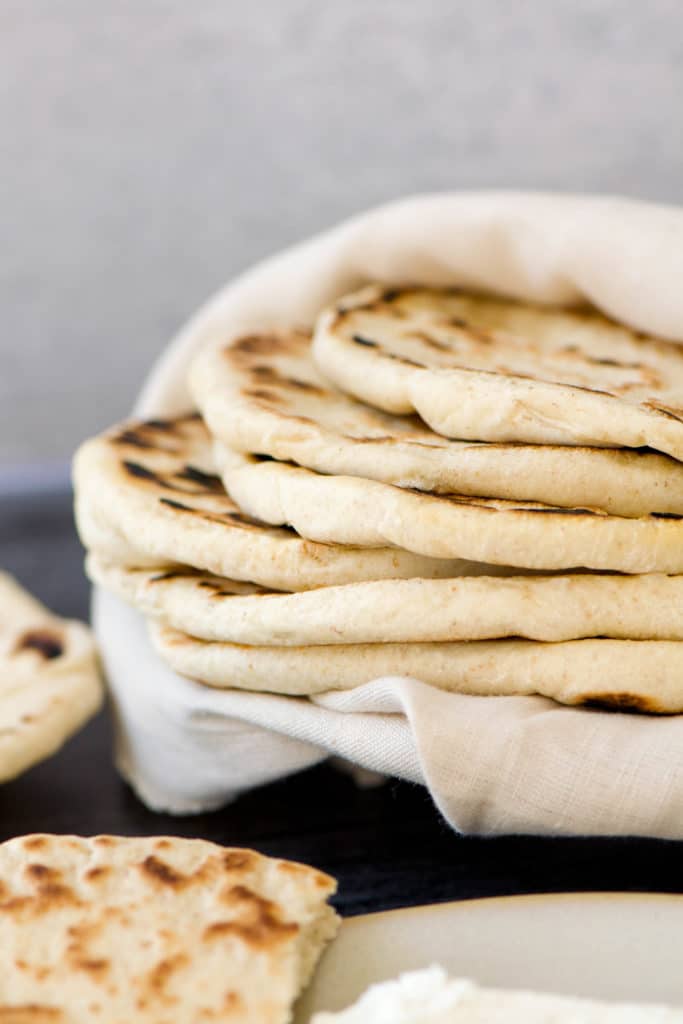
If you want to start baking bread, these easy, forgiving whole wheat pita breads are a great place to start. They are the perfect accompaniment for all your Middle Eastern and Israeli-inspired meals.
Baking bread has become a national pastime of sorts during this unsettling moment of shelter-in-place and social isolation. (Provided, of course, that you are able to lay your hands on flour and yeast – both of which seem to be in short supply.)
As a pandemic activity, bread-baking has a lot to recommend it. It’s often a slow process – requiring that people leave their dough for long stretches of time and then return to it. So it is conducive to being stuck in the house all day. Plus, making something with one’s hands is satisfying and soothing during an anxious time. And the smell of bread baking is scientifically proven to be comforting.
Lots of people seem to be using their time at home to tackle naturally leavened or sourdough bread – one of the more challenging types of bread there is. And I applaud those efforts. But for those of you who are not quite up to sourdough, I want to suggest trying your hand at one of the easiest and most forgiving types of homemade bread: pita.
Flatbreads like naan or pita or lavash are among the most ancient types of bread known to humans. I remember reading in one of my cookbooks that in an earlier time saying “flatbread” would have been redundant. All bread was flat. (Was that you who said that, Michael Solomonov? If so, I love it.)
Flatbreads, as a category, also have a lot to recommend them. Unlike sourdough, flatbreads come together quickly. You can decide to make a flatbread to accompany that night’s dinner at 5 pm and still be eating by 6:30. They also go well with all kinds of dishes, from dips to soups to hearty stews. You can stuff a flatbread like a sandwich or wrap it around a filling or tear it into pieces and drag it through a dip.
In my house, the flatbread of choice is definitely pita because I make a lot of Middle Eastern and Israeli food. When my family was in Israel earlier this year, we could not get enough of the fluffy pita bread that we were served in the restaurants and markets to accompany creamy hummus or tangy labneh. We also are obsessed with the incredible hearth-baked pitas at Chicago’s own Israeli restaurant Galit. My humble efforts at homemade pita are not nearly as good as those examples, but they satisfy our cravings in a pinch.
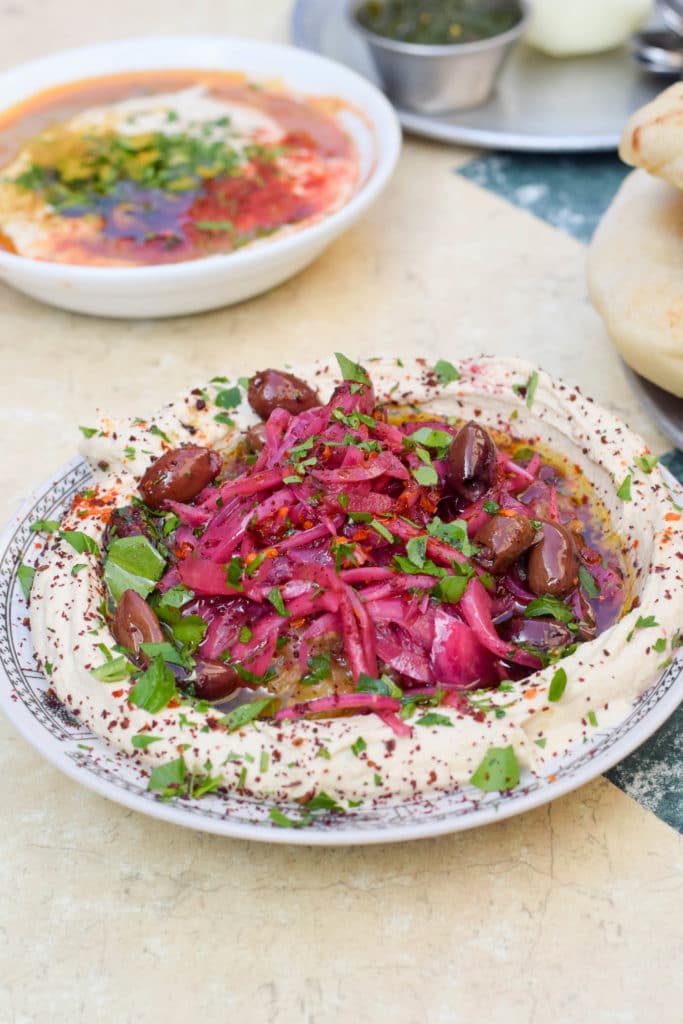
Scenes from our Delicious Israel food tour in Tel Aviv. This amazing hummus was served with the fluffiest pita imaginable.
Not having a giant, wood-fired hearth in my kitchen, I decided that, rather than bake my pitas in my regular oven, I would cook them on the stove instead. By cooking the pitas in a dry skillet over very high heat, I am able to get the pitas nicely browned and even a little charred on the outside – as if they were being baked in a super-hot wood-fired oven. But they still puff up and are soft and fluffy on the inside. I have never been able to get the same results in the oven which inevitably turns out pale and insipid pitas.
Moreover, cooking the pitas on the stove rather than baking them in the oven is one of the reasons that they are so easy to make – you don’t have to worry about preheating the oven. And if you are roasting vegetable or otherwise using your oven for another part of dinner, it is no problem. The process of cooking the pitas on the stove goes quickly – especially if you recruit some help. One person can roll out the pitas, for example, while the other person stands over the stove.
So, as long as you can beg, borrow or steal some yeast and some flour, you can make your own pita bread at home. Speaking of flour, this recipe calls for a mix of bread flour and whole wheat flour, but if all you have is regular, all-purpose flour, go ahead and use that. The only thing to watch out for is that you might need to add a bit more flour if the dough feels too wet or sticky.
Ingredients
- 2 tsp instant or active dry yeast
- 1 cup warm water
- 2 cups bread flour plus more for dusting
- 1/2 cup whole wheat flour
- 2 tsp kosher or sea salt
- 1 TB olive oil
Instructions
- Whisk together the yeast and water in a large bowl and, if using active dry yeast, let it sit until foamy, about 10 minutes.
- Add the flours, salt and olive oil to the yeast mixture and stir with a fork until a dry, shaggy dough comes together.
- Turn the dough out onto a lightly floured surface and knead with your hands until smooth and elastic, about 8 to 10 minutes.
- Lightly oil a bowl - it can be the same one you mixed the dough in - and place the dough in the bowl. Cover and place bowl in a warm spot, or use the "proof" setting on your oven. Let dough rise until almost doubled, about one hour.
- Punch down the risen dough and turn it out onto a lightly floured surface. Divide the dough into 8 equal pieces and roll each piece into a ball. (If not baking right away, you can place the balls on a cookie sheet, cover them and refrigerate them until needed.)
- Heat a large, heavy skillet over high heat until water sprinkled on the skillet sizzles.
- Working with one ball at a time, keeping the other balls covered with a clean tea towel, roll out the dough as thin as possible using a lightly floured rolling pin. You can also stretch it out with your hands as you would pizza dough. The dough shoudl be very elastic.
- Place the rolled-out dough in the hot skillet and cook until it begins to puff up and the underside is browned and charred in spots, about 1-2 minutes. Flip with tongs or a spatula and cook second side until browned and charred in spots, 30 seconds to one minute.
- Remove cooked pita to a clean towel and repeat with the next ball of dough. If the pitas begin to char too much or too quickly, turn the heat down to medium-high or even medium.
- Serve warm or at room temperature. Leftover pitas can be kept covered on the counter for several days.
