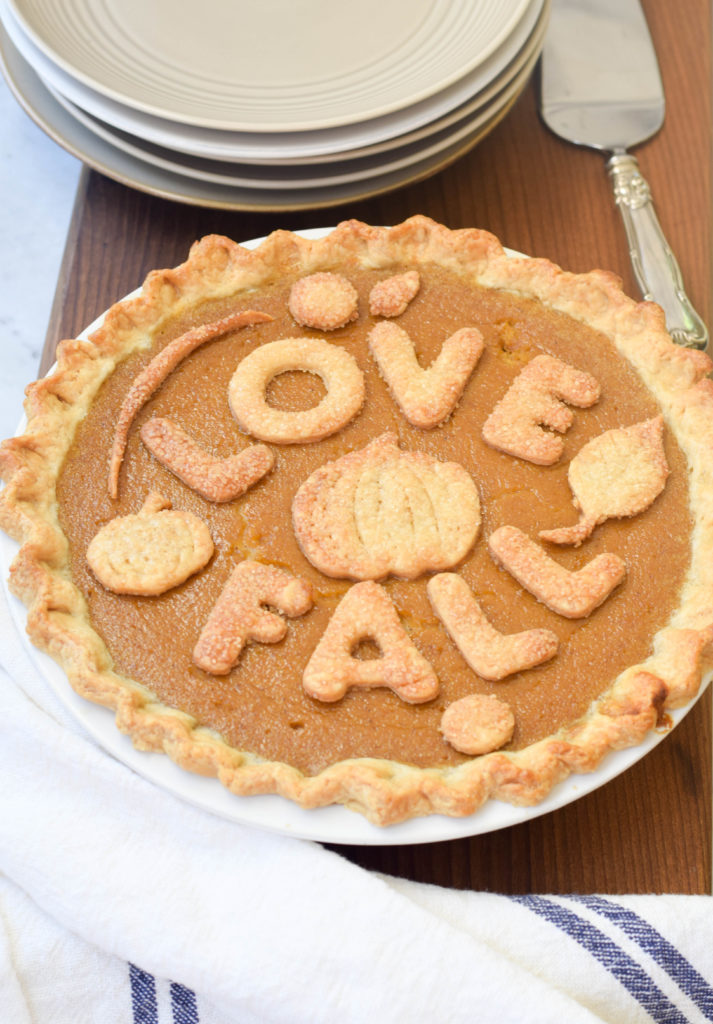
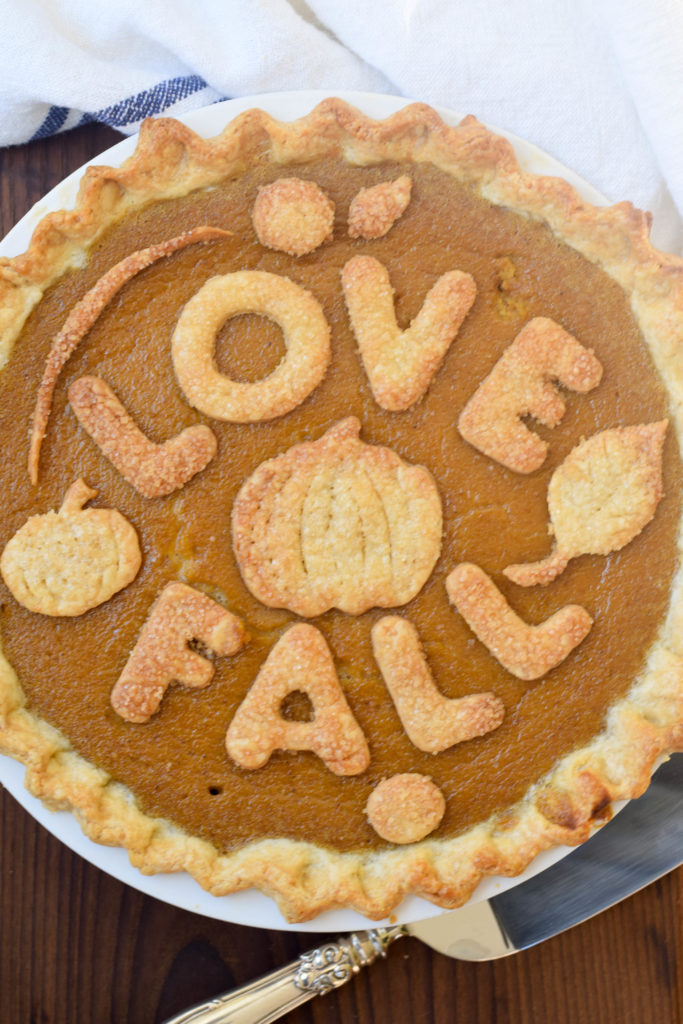
Curious about making pumpkin pie, a fall favorite, with fresh pumpkin instead of canned? It’s easy and worth the extra effort!
It’s October, so we can talk about pumpkin pie, right? I didn’t want to jump the gun, but once October hits, I think that all things fall are fair game. Thankfully, the unseasonal heat wave Chicago experienced at the end of September has ended, and I am ready for sweater weather, falling leaves and pumpkin spice everything.
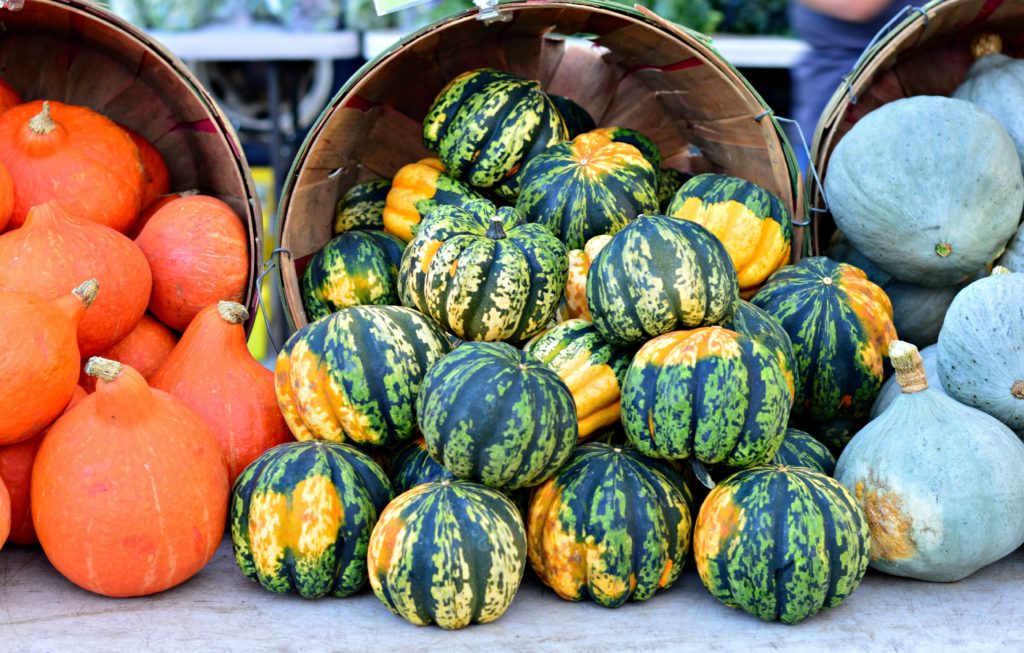
At the Oak Park farmers market, vendors have begun selling what they call “pie” or “sugar” pumpkins. Every time I see these adorable, round pumpkins, my fingers itch to make a pie. Pumpkin pie is one of my all-time favorites and while it is clearly a must for Thanksgiving, do we have to wait for Thanksgiving to make it? I think not.
Have you ever made a pie with pumpkin from a real pumpkin instead of pumpkin purée from a can? It’s very easy to do and the results are absolutely delicious. You can truly taste the difference when you use fresh pumpkin for your pumpkin pie and you have the satisfaction of knowing you made your pie with a fresh, seasonal vegetable, not something from a can. Plus, did you know that most canned pumpkin puree is actually — gasp! — squash? The horror.
The key to baking with fresh pumpkin is buy the right kind of pumpkin and then to make your own homemade version of pumpkin puree. I know this sounds like a lot of work, but trust me, it’s really simple and not even that time-consuming.
First, it is important to buy a pie or sugar pumpkin from a farmers market or good grocery store. Don’t use the same pumpkin you would use for your Halloween jack-o-lantern. Too little to carve, the pumpkins intended for eating have a thicker rind and denser, sweeter flesh and that is a good thing. Carving pumpkins are bred to have less flesh to make them easier to carve and the flesh that they do have is stringy and otherwise not good to eat.
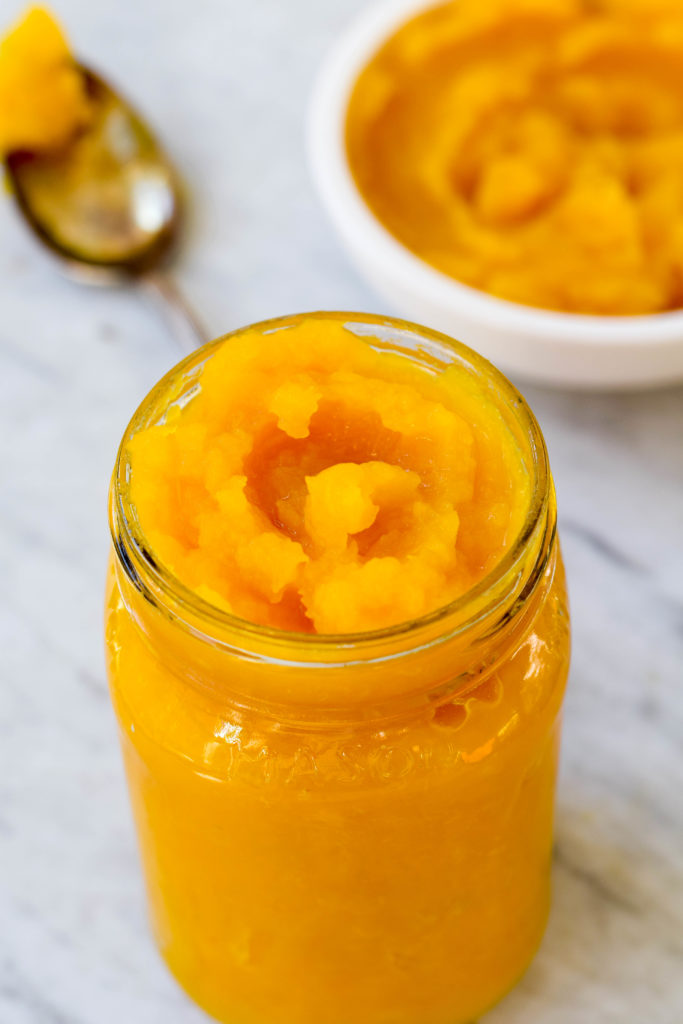
Second, to turn that cute little pumpkin into a jar of ready-to-bake pumpkin puree, you need to go through a few steps. First, bake the pumpkin in the oven. Then, scrape out the cooked flesh, and mash or puree it. Lastly — and this is the step that you might not know about it — strain it to remove excess liquid. (I picked up this tip from the King Arthur Flour blog.) That will make your puree thick enough to bake with.
After that process, which is not as much work as it might sound, you will have a large amount of homemade pumpkin puree — more than enough for a pie and some other baking projects too. Pumpkin apple bread, anyone? Pumpkin puree freezes well, so I suggest you make plenty in October, when the pie pumpkins are readily available, and freeze until Thanksgiving.
A pumpkin pie is a type of custard pie. You make a custard out of pumpkin, eggs, and liquid — spices and sugar too, of course — and fill a pie shell with it. The tricky part about custard pies is not over-baking the custard.
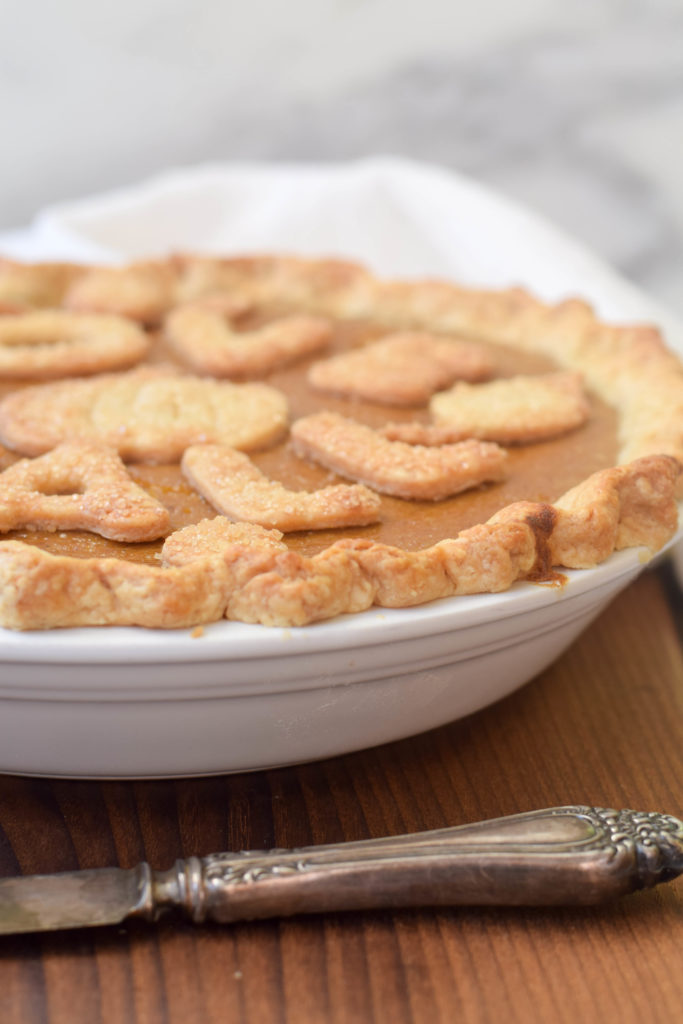
If your pumpkin pies have always had a big crack in the middle, they are over-cooked. You absolutely have to take the pie out of the oven while the center is still jiggly and allow the residual heat to finish baking the center. It can be scary because you worry that the center won’t stay that jiggly, but trust me, it won’t. But if you leave the pie in the oven until the center is completely set, your custard will certainly crack.
A lot of recipes for pumpkin pie have you blind-bake the crust before pouring in the custard filling. It is typical for a custard pie to bake the crust first in this way. But I do not blind bake the crust of my pumpkin pie. I prefer the crust dense and chewy, not crisp. I do recommend spreading a layer of mixed flour and sugar over the crust before pouring in the filling to prevent it from getting too soggy.
The best way to make sure that your Thanksgiving pumpkin pie is perfect? Practice, of course. Those pie pumpkins are at the markets now, so I suggest that you celebrate the arrival of October, and autumn, with a fresh, not canned, pumpkin pie.
Ingredients
- One small pie pumpkin
- 8 ounces cold, unsalted European-style butter
- 2 1/2 cups all-purpose flour
- 1 tablespoon sugar
- 2 teaspoons salt
- ½ cup ice water
- 1 tablespoon lemon juice or vinegar
- 2 cups pumpkin puree
- 3 eggs, lightly beaten
- 1/2 cup granulated sugar
- 1/2 cup brown sugar
- 1 tsp cinnamon
- 1 tsp ginger
- 1/2 tsp ground cloves
- 1/4 tsp nutmeg
- Pinch salt
- 1 cup cream
- 1/4 cup milk
Instructions
- To make the puree, preheat the oven to 400.
- Remove the stem from the pumpkin, carefully cut it in half, and scrape out the seeds. Fit it into a baking dish, cut sides down, filled with 1/2 inch of water. Cover tightly with foil and bake until very soft, about 45 minutes.
- When the pumpkin halves are cool enough to handle, scrape out the flesh and mash with a fork, or for a smoother texture, puree in a food processor.
- Strain the puree by placing it in a colander set over the bowl. Place a plate on top of the puree and place something heavy, like a can, on top of the plate. Allow the liquid to drain from the puree for an hour.
- Transfer to the puree to a clean jar of container. May be refrigerated for a week and frozen for three months.
- To make the crust, Cut the butter into small cubes and place in the refrigerator until needed.
- Combine the flour, sugar and salt in the bowl of a food processor and pulse a few times to mix. Add the chilled butter from the refrigerator to the dry ingredients and process until the mixture resembles coarse meal.
- Combine the lemon juice or vinegar and ice water and add six tablespoons of the mixture to the ingredients in the food processor. Pulse several times until combined. Pinch a bit of the dough and if it holds together, you do not need to add more liquid. If it is still dry, add more of the liquid, one-half tablespoon at a time. Remove the dough to a bowl or a well-floured board.
- Knead the dough until it forms a ball. Divide the dough into two and wrap each half well in plastic wrap. Place the dough in the refrigerator to relax for at least a half-hour but preferably overnight.
- Remove one of the balls of dough from the refrigerator. (Save the other ball of dough for another pie or use to make decorative cut-outs for your pie.) If your dough was chilled for longer than thirty minutes, allow to soften for ten to fifteen minutes before rolling it out.
- Prior to rolling out the dough, strike it with your rolling pin to flatten. This will soften it further.
- Preheat the oven to 450 and grease the bottom and sides of a 9-inch pie plate.
- Liberally dust a pastry board or mat and your rolling pin with flour.
- Roll the dough out, rotating it and turning it frequently and adding more flour as necessary to keep it from sticking, until it is the size of your pie plate and between ¼ and ⅛ of an inch thick.
- Carefully center the pie dough in the plate and press it into the bottom and sides. Tuck any excess dough under and make a pretty crimped crust by pinching with your fingers.
- Sprinkle the bottom of the plate with a mix of sugar and flour mix prevent the filling from making the crust soggy. Chill for at least 15 minutes.
- To make the filling, whisk together the pumpkin puree, eggs, sugars, and spices. Add the cream and milk and whisk until smooth.
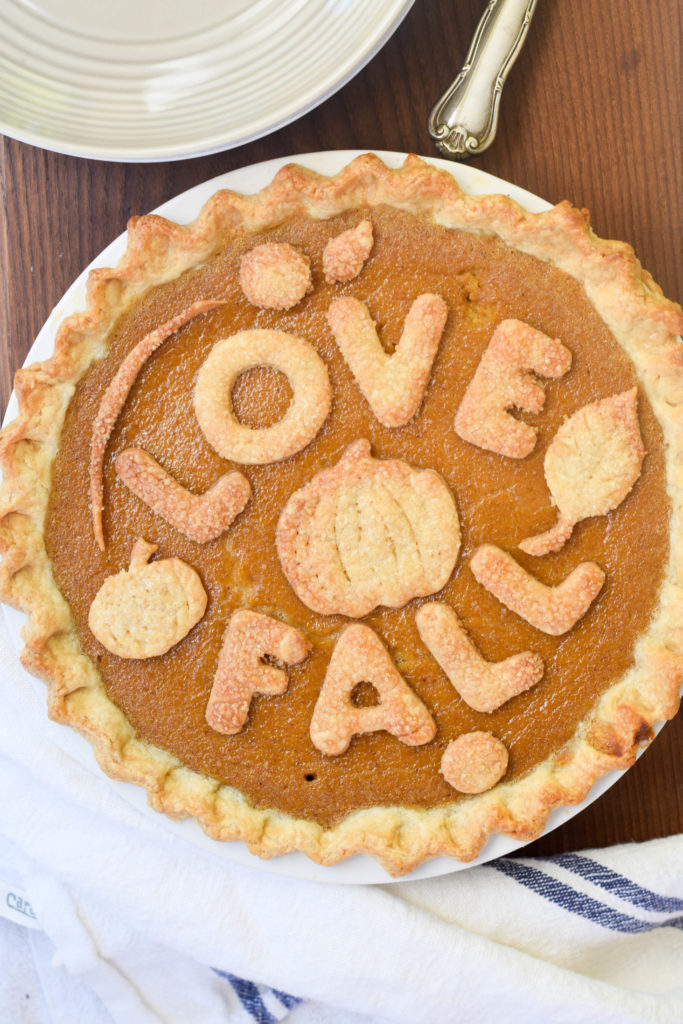
- Place the pie plate with the chilled crust on a baking sheet and carefully pour the filling into the crust. If desired, brush the exposed crust with cream or a beaten egg for a glossy finish.
- Place the tray in the oven.
- Bake for 8 minutes, then reduce the heat to 325. Bake for 40-50 minutes until the edges are set but the center is still jiggly.
- Remove and cool on a wire rack. Cool the pie completely prior to cutting.
- Serve with whipped cream.
SaveSave
