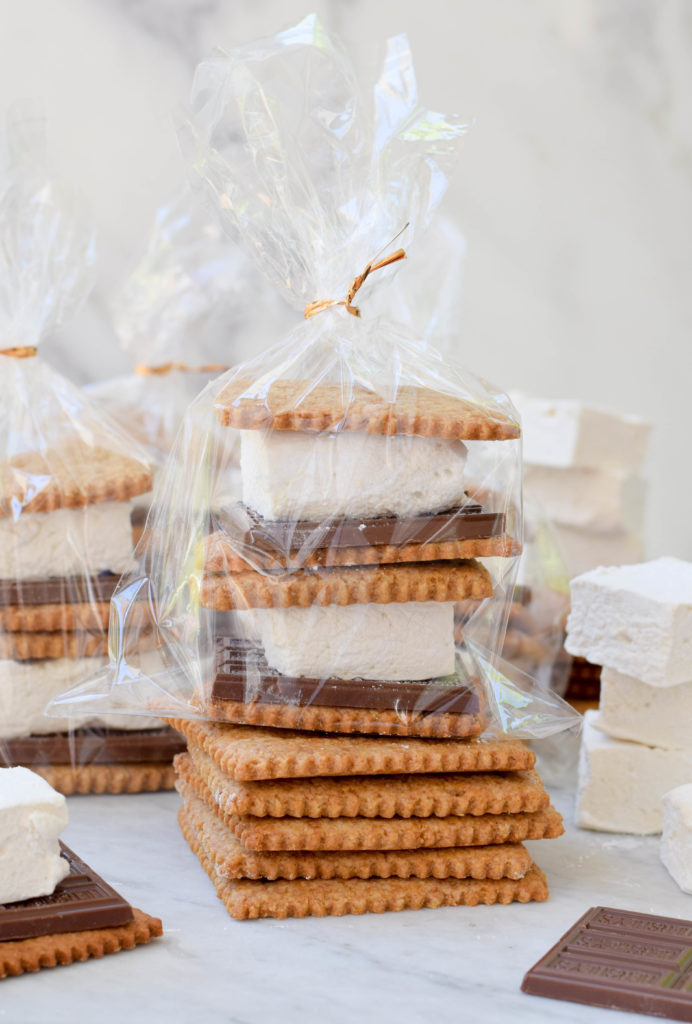
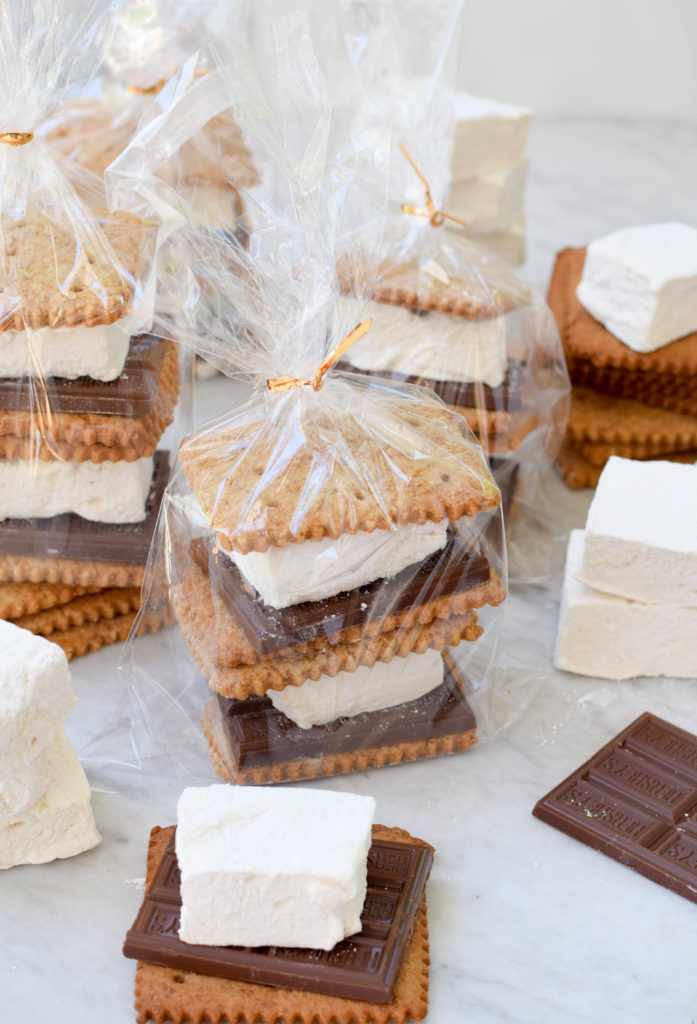
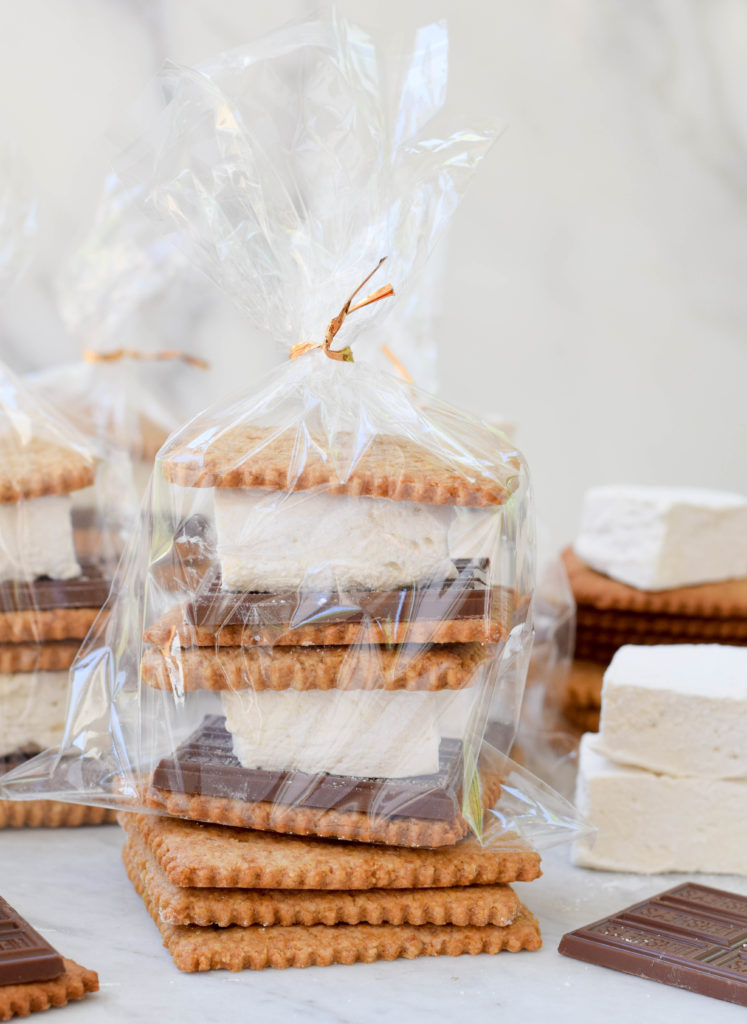
Summer means s’mores! Elevate your s’more by making the marshmallows and graham crackers yourself. Packed together with some milk chocolate, you have a charming edible gift!
One of the things we love about our not-so-new house is the outdoor fireplace. After eating dinner out on the patio, my husband and I love to argue about the best way to build a fire and (eventually) gather friends and family around a crackling blaze.
Naturally, when the kids hear the words “fire,” the next word out of their mouths is “s’mores!” What’s the point of having an outdoor fireplace if you are not going to use it to roast marshmallows? But I must admit, I don’t love the tasteless fluff that passes for store-bought marshmallows and I’m not crazy about bland, dry graham crackers either.
The obvious solution was to make my own versions of each. S’mores go from summer camp fare to a worthy indulgence when both the graham crackers and marshmallows are homemade. These graham crackers, which I have adapted from a Smitten Kitchen recipe, have been such a hit in my house that I make them constantly so as to have a stash on hand at all times.
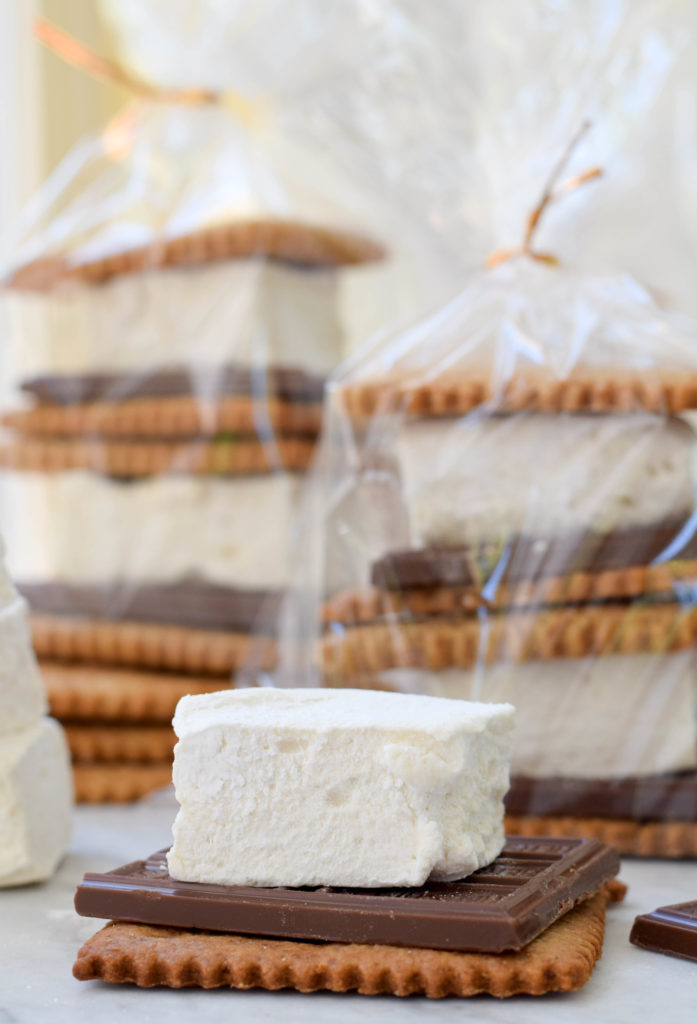
Homemade marshmallows, are so superior to store-bought versions as to be almost a different food. They are are pillowy and full of vanilla flavor. Do not be put off by the use of corn syrup in this recipe: it’s often important in candy-making to add an inverted sugar, like corn syrup, to prevent the sugar from crystallizing. (Science!) But these marshmallows are otherwise free of highly processed ingredients. Can store-bought marshmallows say that? No, I didn’t think so.
Between the graham crackers and the marshmallows, the marshmallows are by far the bigger project. Marshmallows require a special trip to the store — unless you are the the kind of person who keeps unflavored gelatin on hand — and they leave behind a sticky mess. But one batch makes a lot of marshmallows and they will keep.
I started out making marshmallows and graham crackers to indulge our regular s’mores habit, but as the end of the school year approached, and I was in need of teacher gifts, it occurred to me that a DIY S’mores Kit, with homemade graham crackers and marshmallows and some store-bought chocolate would make a charming edible gift OR food swap item.
How cute would one of these DIY S’mores Kits be as an end-of-the-year teacher gift, a hostess present or even as a favor for summer party guests? Make anyone’s summer a little sweeter by treating them to the best s’mores of their lives.
Whether you keep them for your family or give them as a gift, a DIY S’mores Kit is a fun summer kitchen project. If you kids are home on summer break, get them to help you. And they will be so proud of the results.
Ingredients
- 2 cups all-purpose flour
- 1/2 cup whole wheat flour
- 1 cup brown sugar, lightly packed
- 1 tsp baking soda
- 1 tsp salt
- 1/2 tsp cinnamon
- 4 oz (1 stick) cold butter, cut into piece
- 1/3 cup honey
- 1/3 cup milk
- 1 TB vanilla extract
- 4 envelopes unflavored gelatin
- 3 cups sugar
- 1 1/4 cups corn syrup, brown rice syrup, Lyle's golden syrup or other invert
- Pinch salt
- 1 TB vanilla extract
- Powdered sugar for dusting
- 6 bars milk chocolate
Instructions
- Place the flours, brown sugar, baking soda, salt and cinnamon in the bowl of a food processor. Pulse once to incorporate.
- Add the butter and pulse several times until the mixture resembles coarse crumbs.
- Whisk the honey, milk and vanilla in a small bowl to dissolve the honey. Add the mixture to the food processor and pulse until a dough begins to come together.
- Transfer the dough to a medium bowl and knead until it forms a ball. Wrap the ball in plastic and refrigerate for several hours or overnight.
- When ready to bake, preheat the oven to 350. Line two baking sheets with parchment paper or Silpat liners. Place the dough on the counter and allow to warm up for 10 minutes or so.
- Cut the dough in half. Generously flour a pastry board and a rolling pin.
- Roll out the first half into a rectangle about 9x12 inches. Trim the edges of the rectangle to make them even. (If you have a fluted cutting wheel for pasta, this is a great time to use it.) Gather the scraps and reserve them for later
- Cut the dough into 12 evenly sized crackers and place them on the baking sheets. Repeat with the second half of the dough.
- Gather the scraps and reroll them if possible to make a few extra crackers.
- If desired poke nine holes (three lines of three holes) in the crackers using a fork tine or blunt end of a skewer.
- Bake for 12 minutes until lightly browned. Cool on a wire rack.
- Place the gelatin and 3/4 cup cold water in the bowl of a stand mixer. Let stand while you make the syrup.
- Place the sugar, corn syrup, and salt in a small saucepan and bring to a boil over high heat. Stir at first to dissolve sugar, but then stop and do not stir again. (Stirring can cause the sugar to crystalize.)
- Cook until mixture registers 240 degrees on a candy thermometer. Remove form heat.
- Begin whisking gelatin on low speed and slowly pour hot sugar syrup into the bowl with the gelatin. Once all the syrup has been added, increase speed to high and whisk mixture until very stiff, 12-15 minutes. You will notice the mixture go from clear to opaque and glossy.
- Add vanilla and beat just to combine.
- Line a 9x13 baking pan with parchment paper and spray the parchment with nonstick cooking spray. Pour the marshmallow mixture into the prepared pan. The mixture will be extremely sticky. Do not try to scrape every last bit out of the bowl! Smooth top.
- Allow the marshmallows to set for at least 6-8 hours or overnight.
- To cut the marshmallows, remove parchment paper from baking pan and place on a cutting board. Spray a sharp knife with nonstick cooking spray.
- Cut marshmallows into rectangles approximately 1 1/2 to 2 inches long.
- Place 1 cup sifted powdered sugar on a plate. Toss marshmallows in powdered sugar to coat. Add more powdered sugar as needed.
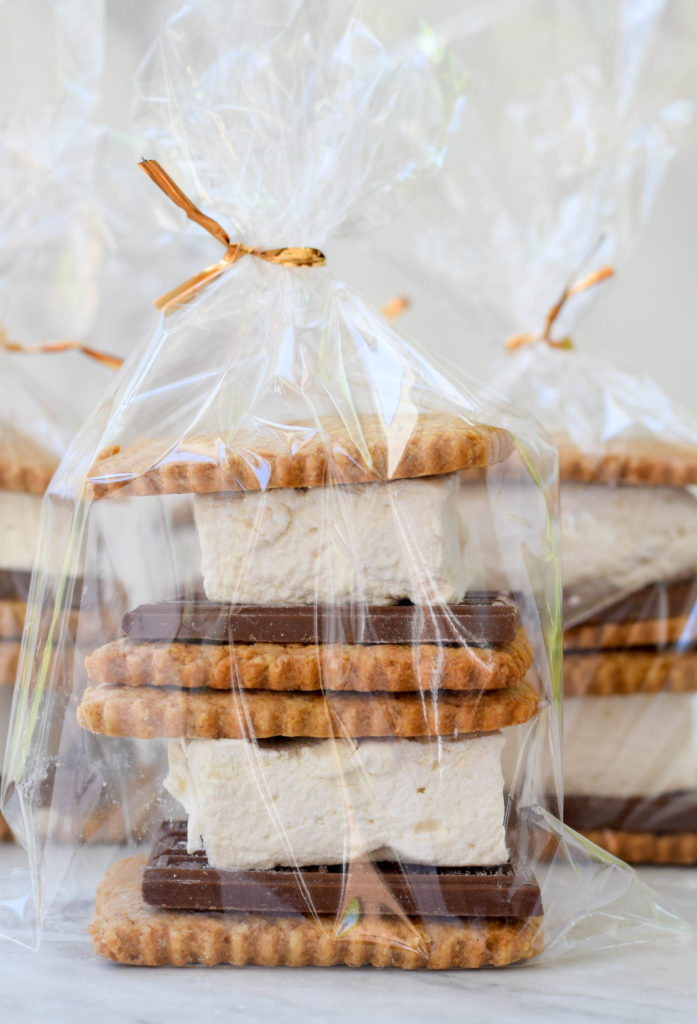
- Package 4 graham crackers, two marshmallows and a chocolate bar in a cellophane bag and tie with a twist tie. Add a hanging tag.
