March 14 is unofficially know as Pi Day for some reason having to do with math. Now, I don’t like math and I do not understand math. But I do like pie and I understand pie. So I am going with it.
Do you feel about pie the way I feel about math? If so, then let me give you my very best tips about making pie.
- Practice makes perfect. Do not expect to make pie once a year, probably on Thanksgiving, and be good at it. It takes experience to learn to handle pastry and end up with the flaky, buttery pie crust of your dreams. Try to make pie several times a year and hone your skills. This should not be viewed as a hardship. Make lemon meringue pie in winter; strawberry rhubarb pie in spring; peach pie in summer; and apple pie in fall. Make quiche for dinner all year long. By the time you’re ready for pumpkin pie in November, you will be an expert. Plus, your family will love you for having made them pie.
- Take your time. Pastry needs time to relax – or the gluten in the pastry needs time to relax — before it is rolled out. (The key idea is not to develop the gluten in the flour into long strands, which makes it chewy like pasta. That results in a tough or rubbery crust. You want to keep your gluten short.) Therefore, make your pie crust dough at least the day before you plan to bake your pie. You can make it up to several days ahead, which actually is very convenient. Even better: make in months ahead of time and freeze it. Pastry dough freezes well.
- Keep your cool. This is a two-fold hint. One, keep your ingredients cold. Cold, even frozen, butter is a must. Ice water to help it come together. You can even chill your flour prior to mixing. Then, once the dough comes together, refrigerate it overnight before rolling it out. (Take it out of the fridge about ten minutes before you want to roll it out to minimize cracking.) But also, keep your cool. Be Zen. The pastry can sense fear.
- Butter tastes good. I strongly believe in all-butter pie crusts because they simply taste better. Yes, all-butter crusts are trickier to work with. Yes, adding shortening helps make the pastry flakier. But shortening does not taste good. So, my recommendation is that you use only butter in your pie crust, but add some acid, like vinegar or lemon juice, as a tenderizer. You won’t taste it in the crust, believe me. But it will help your all-butter crust taste good and be flaky. The kind of butter makes a difference here. Seek out European-style butter with at least 82% butterfat.
- Special bonus pro tip: It’s all about the process. Use a food processor to combine the flour and butter. Don’t mess around with a pastry cutter or two knives. (Unless you don’t have a food processor in which case that pastry cutter will work great. Definitely.) A food processor is best for breaking the cold (maybe even frozen?) butter down. But don’t over-process it. Pulse it and watch closely. You want the butter to be in gravel-sized pieces with some pea-sized pieces mixed in there for good measure. When the crust bakes, the water in the butter will evaporate creating steam, which creates layers. Layers = flakiness. When you roll out your pie crust, you should be able to see some chunks of butter. That’s the sign you’ve done it right.
So, to help you celebrate Pi Day, here is a round-up of all the pie recipes I have posted on West of the Loop. If you’re still in the middle of winter as we are here, I recommend sticking to citrus-based pies, chocolate or other non-fruit pies, sweet potato pie, and possibly apple pie. But save the peach pie and strawberry-rhubarb pies for when those fruits are in season.
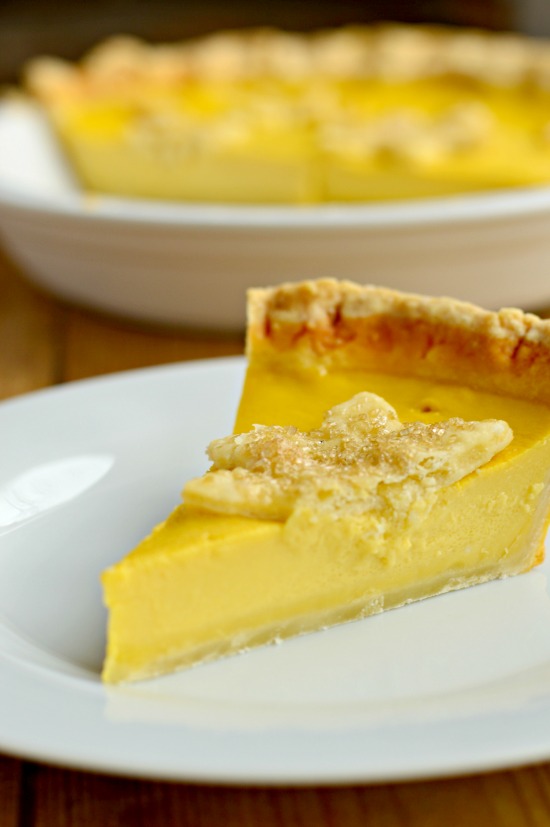
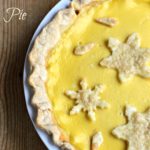
- Maple Buttermilk Pie
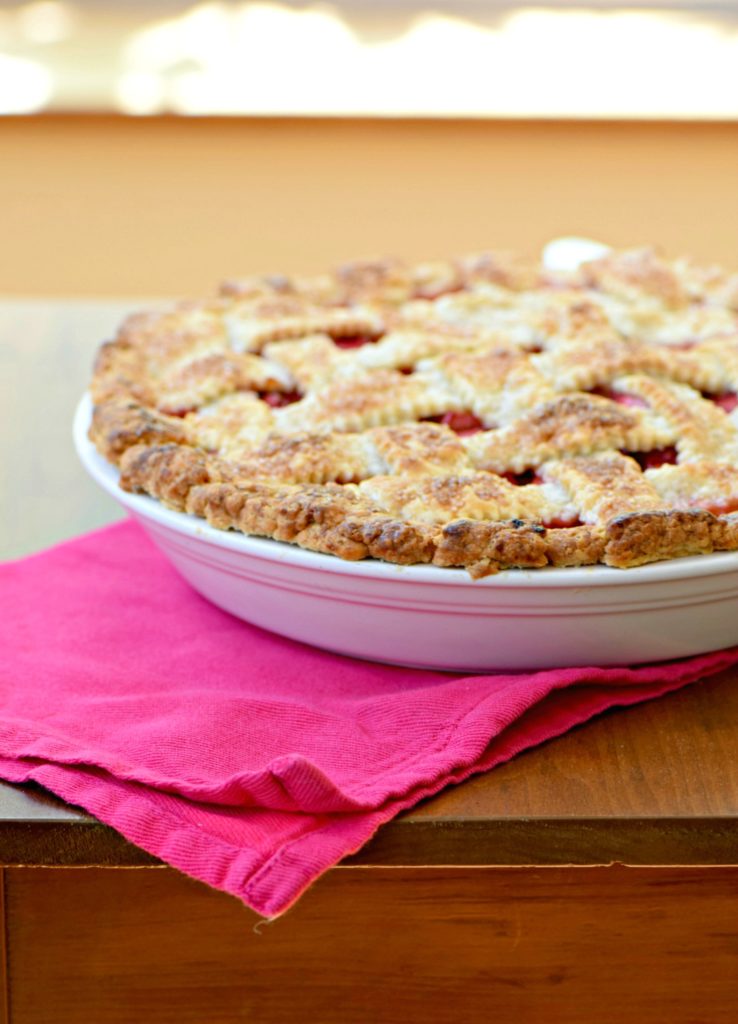
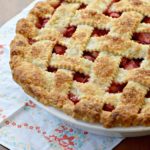
- Strawberry Rhubarb Pie
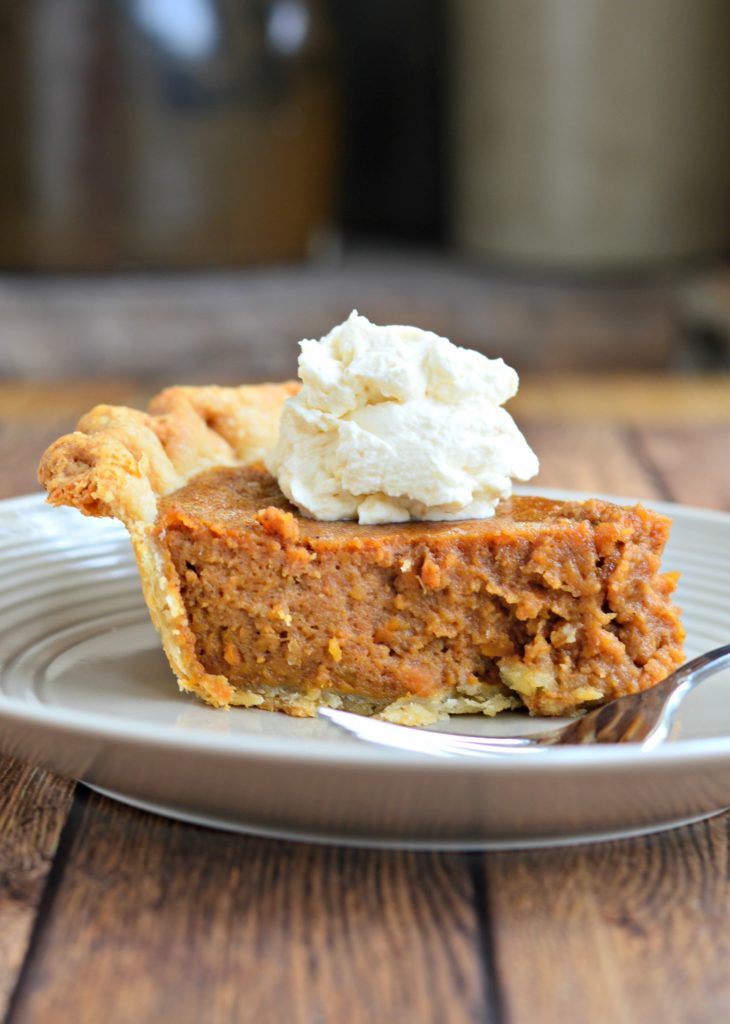
- Sweet Potato Pie
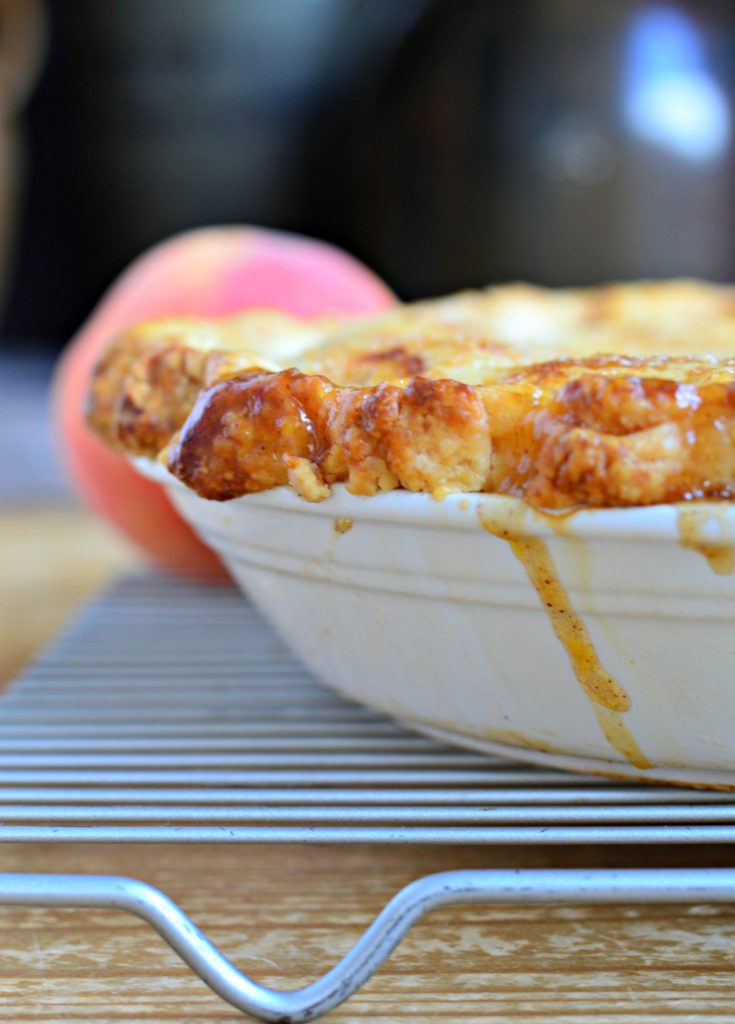
- Peach Pie
- Jam-Filled Hand Pies
- Chocolate Orange Cream Pie
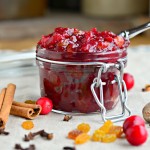
- Winter Fruit Pie
- Lemon Meringue Tart
- Apple Caramel Tart
In addition, here are some wonderful pie cookbooks that I heartily recommend.
- Art of the Pie: A Practical Guide to Homemade Crusts, Fillings and Life by Kate McDermott: I know Kate personally and she is a special woman, in addition to being the pie expert. This book has been a runaway hit and is an instant classic. A must-have. With amazing photographs by New York Times photographer Andrew Scrivani.
- The Hoosier Mama Book of Pie by Paula Haney: I really honed my technique using this book from local Chicago area pie baker, Paula Haney, the Hoosier Mama. Very detailed and thorough instructions, especially for making crust. Read my full review.
- Teeny’s Tour of Pie: A Cookbook by Teeny Lamothe: Teeny went all around America to different pie shops acquiring pie wisdom. Full of charming recipes and anecdotes. I like the regional fillings.
- Dinner Pies by Ken Haedrich: Pie is not just dessert! This book is full of savory pies, like shepherd’s pies, pot pies, quiches and turnovers. Pie is the ultimate one-dish meal.Practice your pastry skills while making dinner.
Ingredients
- 7 ounces cold, unsalted European-style butter
- 2¼ cups all-purpose flour
- 1 tablespoon sugar
- 2 teaspoons salt
- ½ cup ice water
- 1 tablespoon lemon juice or vinegar
Instructions
- Cut the butter into small cubes and place half of the cubes in the freezer. Return the other half to the refrigerator until needed.
- Combine the flour, sugar and salt in the bowl of a food processor and pulse a few times to mix. Add the chilled butter from the refrigerator to the dry ingredients and process until the mixture resembles coarse meal.
- Add the frozen butter to the food processor and pulse until the butter is in small but still visible pieces.
- Combine the lemon juice and ice water and add six tablespoons of the mixture to the ingredients in the food processor. Pulse several times until combined. Pinch a bit of the dough and if it holds together, you do not need to add more liquid. If it is still dry, add more of the liquid, one-half tablespoon at a time. Remove the dough to a bowl or a well-floured board.
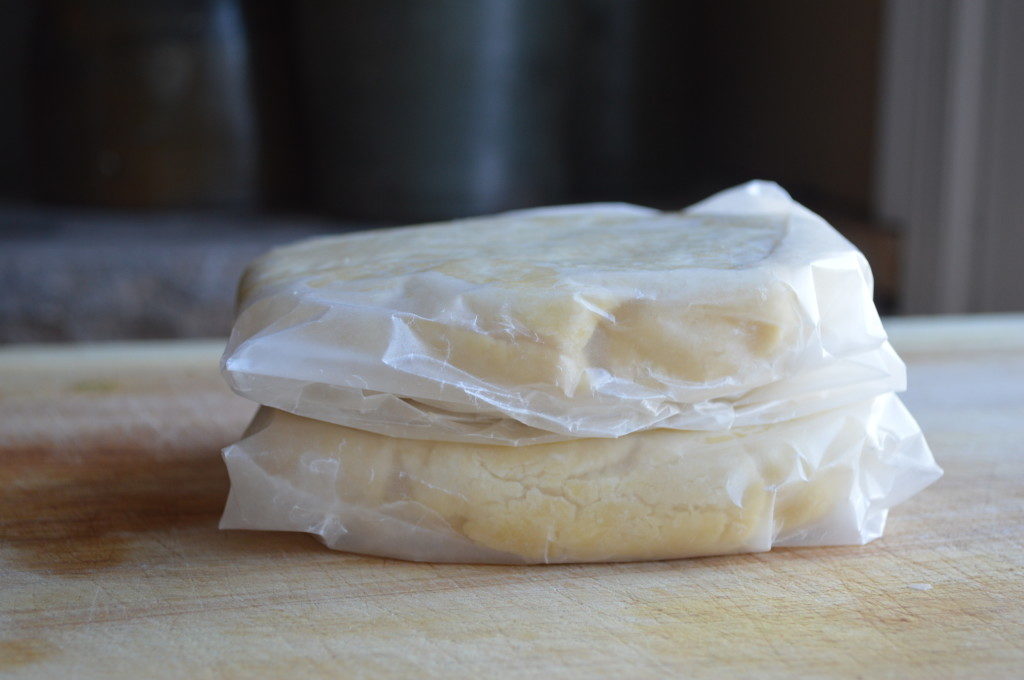
- Knead the dough until it forms a ball. Divide the dough into two and wrap each half well in plastic wrap. Place the dough in the refrigerator to relax for at least a half-hour but preferably overnight.
- Begin by rolling out the bottom crust: remove one of the balls of dough from the refrigerator. If your dough was chilled for longer than thirty minutes, allow to soften for ten to fifteen minutes before rolling it out.
- Prior to rolling out the dough, strike it with your rolling pin to flatten. This will soften it further.
- Preheat the oven to 400 and grease the bottom and sides of a 9-inch pie plate.
- Liberally dust a pastry board or mat and your rolling pin with flour.
- Roll the dough out, rotating it and turning it frequently and adding more flour as necessary to keep it from sticking, until it is the size of your pie plate and between ¼ and ⅛ of an inch thick.
- Carefully center the pie dough in the plate and press it into the bottom and sides. Trim or fold over any excess dough around the edges.
- Sprinkle the bottom of the plate with a teaspoon each of sugar and flour to prevent the filling from making the crust soggy
- Chill the dough in the pie plate 30 minutes.
- Pour filling into pie plate making a mound in the center.
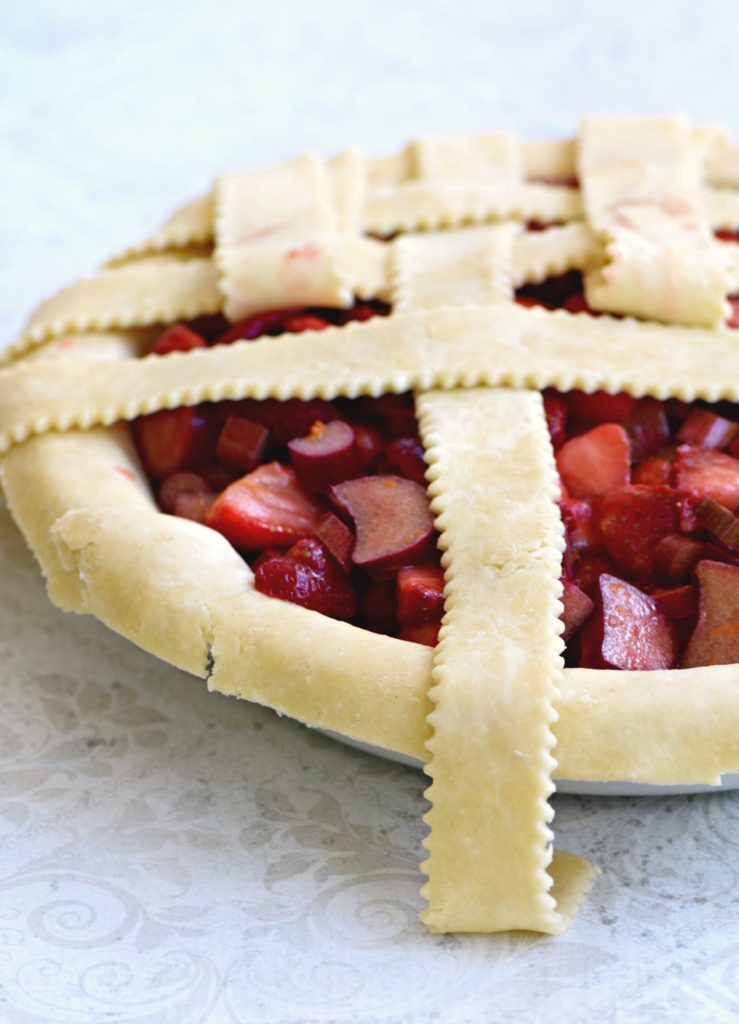
- Carefully place top crust on top of filling and pinch edges of the top and bottom crusts together. Use your fingers to create a nice, fluted edge. Cut three or four tear-shaped holes in center of top crust to act as a vent.
- Combine the milk and cream and brush the top of the pie with the mixture. Sprinkle the top with Turbinado sugar if desired.
- Bake at 400 for 15 minutes.
- After 25 minutes, reduce heat to 375. It is a good idea, at this point to cover the edges of the crust with tin foil or use a pie crust shield to prevent them from burning.
- Bake pie at 375 for 35-45 minutes until crust is deep golden and filling is bubbling.
- Cool on a rack completely before slicing.
