Today’s post is sponsored by Mockmill. All opinions expressed herein are entirely my own.
Baking bread and pastries with whole grain, freshly milled flour is an emerging culinary trend. Indeed, some of the country’s best bakeries, such as Josey Baker Bread in San Francisco and Baker Miller in Chicago, only bake with flour they mill themselves. Baked goods made with freshly milled flour not only taste amazing, but they are filled with vitamins, fiber and antioxidants. In other words, bread made with whole grain, freshly milled flour is actually good for you.
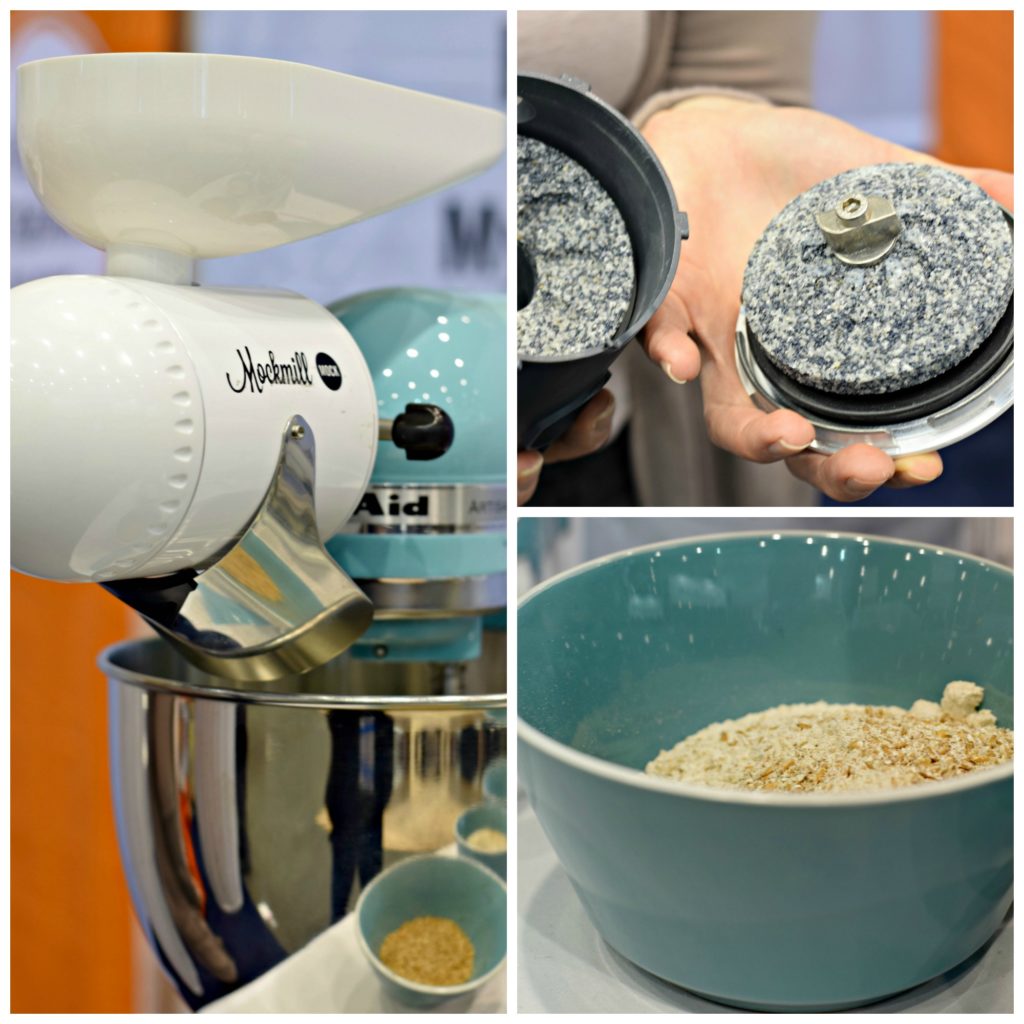
But only professional bakers have access to freshly milled flour, right? Grinding flour must require expensive, specialized equipment, right? Wrong on both counts! It is extremely easy to mill fresh flour in your own home using a Mockmill, a compact, easy-to-use attachment for your stand mixer that grinds grain into flour using real grind stones.
Investing in a Mockmill can save you money in the long run and make your homemade baked goods both healthier and tastier. And, through August 31, I have an exclusive package that includes not only the Mockmill, but also a copy of Flour Power, a specially reprinted book all about grinding flour at home, and an assortment of whole grains to get you started. (Gluten-free grain options also available!) This package retails for $259 but with a special West of the Loop coupon code (westoftheloop), you can receive $80 off, so it will only cost you $179 and shipping is free! Normally just the Mockmill retails for $229, so this is a great deal.
I have been obsessed with the Mockmill ever since I first saw it at the International Home and Housewares Show in March and jumped at the chance to try one. I absolutely love it. The Mockmill attaches to your stand mixer and grinds the flour directly into the bowl. You control the fineness of the flour by adjusting the dial on the Mockmill and the ceramic-bonded corundum stone is capable of producing a very fine flour if that is what you are looking for. Lastly, the Mockmill is incredibly durable and will not wear down over time, making it a sensible investment. No mess, no loud noises, no bulky equipment, just delicious, freshly milled whole grain flours for healthy, nutritious baking.
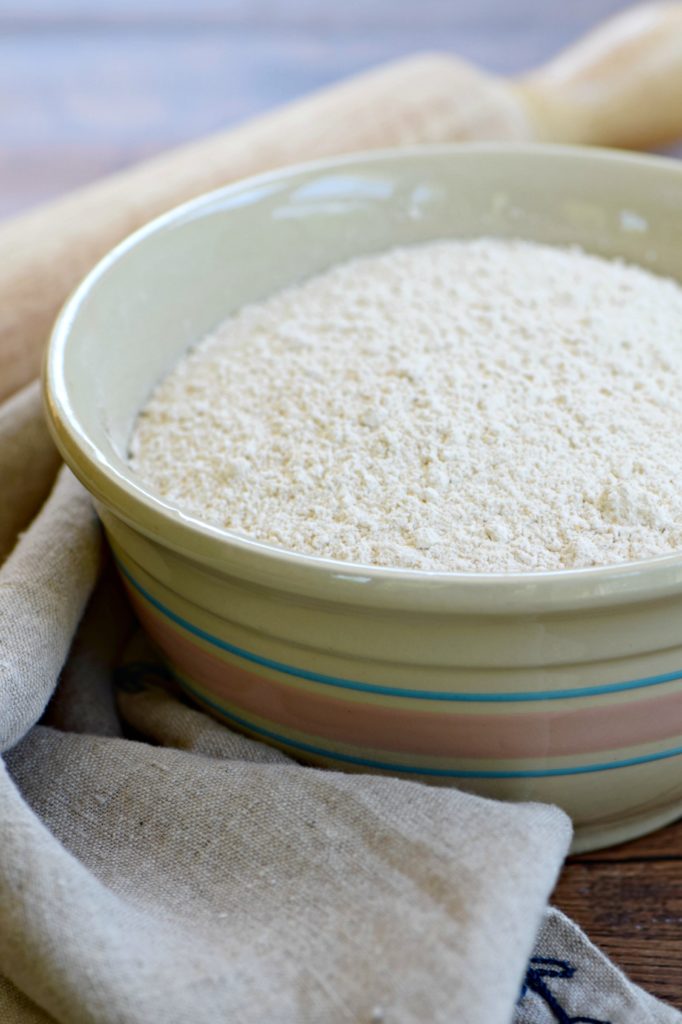
What is so great about freshly milled flour? It actually uses the whole grain and therefore contains more vitamins, minerals, antioxidants and fiber than commercial flour. When you grind flour from the whole wheat berry, you grind the endosperm, the largest part of the wheat berry and the part with the most starch, but also the bran and the wheat germ — the most nutritious parts — into your flour.
The downside of this process is a shorter shelf life. Wheat germ contains oil and thus can make flour go rancid quickly. That is why processed flour removes these parts prior to grinding and only uses the endosperm: to last longer on a supermarket shelf. But for those of grinding flour for our own use, we don’t need flour that can sit for years on a store shelf. Thus, we can enjoy the flavor and health benefits of freshly milled flour.
By the way, I have mostly talked about grinding your own wheat flour, but you can grind many different grains in the Mockmill, including ancient forms of wheat such as emmer and spelt, oats, rice, corn, rye, quinoa, ancient grains like teff and millet, and even beans and legumes. So, if you are gluten-free, grinding your own gluten-free grains for flour is a great option for you as well and can save you a lot of money over buying specialty, gluten-free flours.
Baking with freshly milled flour is slightly different than baking with store-bought flour. Here are a few important things to keep in mind when starting to mill your own flour.
- Only mill as much flour as you plan to use. Freshly milled flour will go rancid. If you find yourself with extra flour, store it in the refrigerator.
- Follow recipes for freshly milled flour like the one I have below for Whole Wheat Oatmeal Chocolate Chip Cookies. Freshly milled flour absorbs more liquid than commercial flour and so you need to use less of it. Begin by following recipes specifically for freshly milled flour, which you can easily find online. As you get more familiar with fresh flour, you can try using it in recipes for regular flour, adjusting the amount of flour downward. Also, allow your batter or dough to rest prior to baking to rehydrate the wheat.
- Buy the right kind of wheat berries. There are two types of wheat berries, hard and soft. Hard wheat berries are better for breads while soft wheat berries are better for pastries. You can find wheat berries online or in grocery stores with bulk sections. Bob’s Red Mill sells both hard and soft wheat berries. A cup of wheat berries gives you approximately 1 1/4 to 1 1/2 cups flour. Wheat berries will keep at room temperature for ages without spoiling.
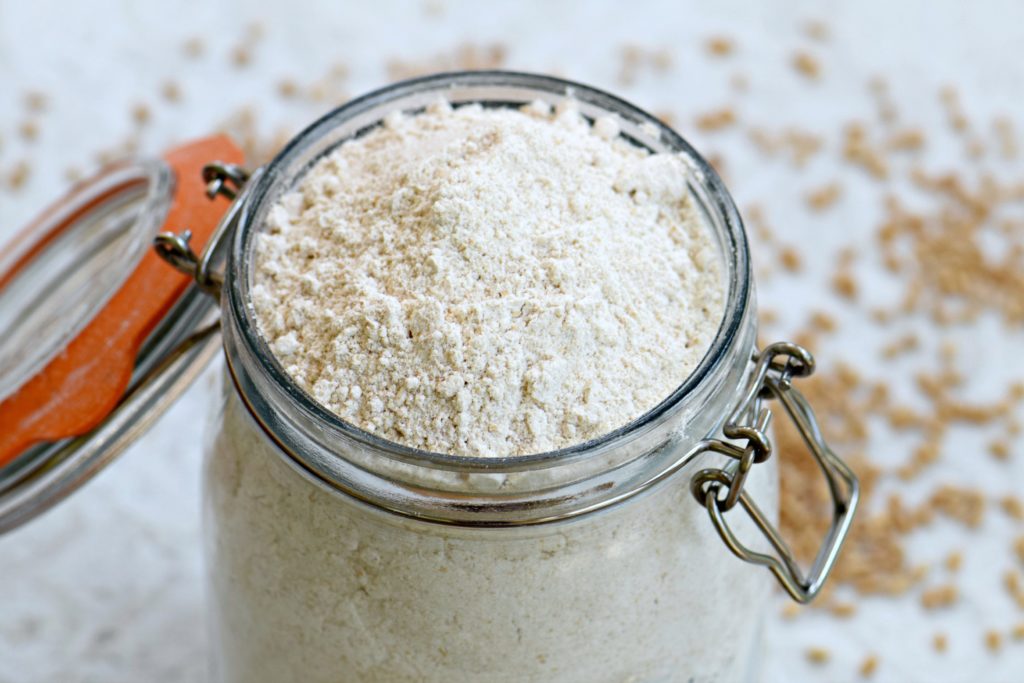
- Don’t use the flour right away. Freshly milled flour is warm and full of air. Let it settle for around 30 minutes before you measure it for baking. If you are making a recipe where you want to keep the ingredients cold, such as pie crust or other pastry, do not use the flour right after milling. Store it for a day in the refrigerator or freezer prior to use.
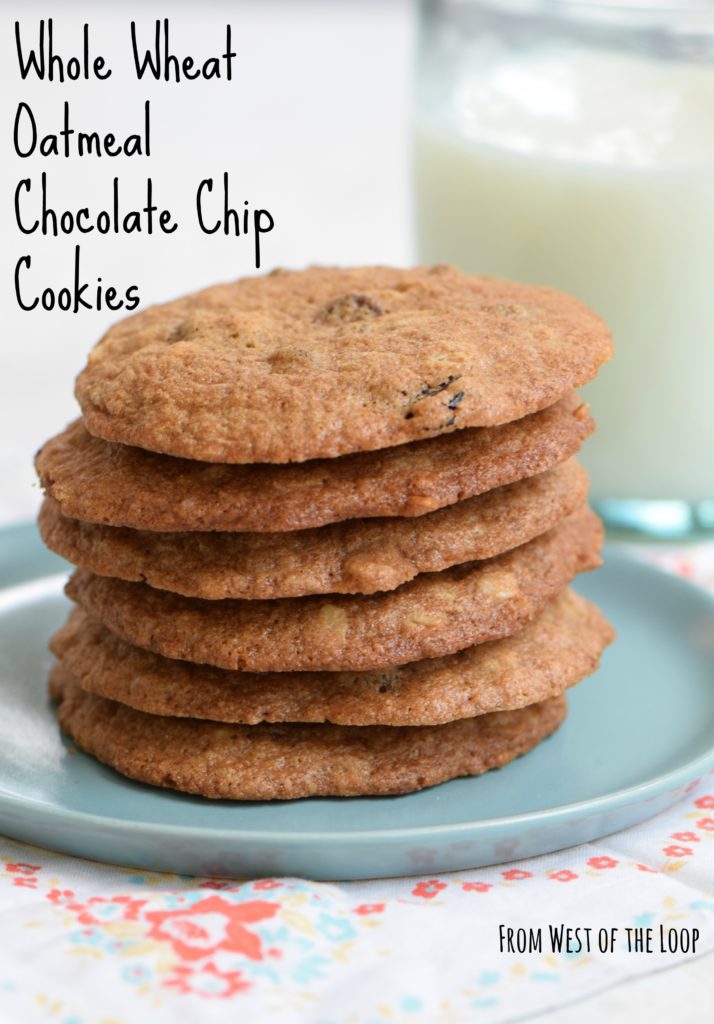
I made delicious Whole Wheat Oatmeal Chocolate Cookies this week using flour I milled myself and I cannot tell you proud I am of them. They are crispy on the edges, chewy in the middle and have a delicious nutty flavor. Plus, they are chock-full of whole grain goodness. I don’t think they taste as good as a cookie made with white flour; I think they taste better than a cookie made with white flour!
I am not saying these cookies are health food. They still have butter and sugar. They’re cookies, okay? But if you are going to eat a cookie — and you should once in a while — for goodness’s sake, make it a cookie that is made with wholesome, natural ingredients and is full of flavor! This cookie is worth every calorie, I promise.
Ingredients
- 2 cups freshly milled whole wheat flour (from soft wheat berries)
- 1 tsp baking soda
- 1 tsp cinnamon
- 1 tsp salt
- 1 cup unsalted butter at room temperature
- 1 1/2 cups brown sugar
- 2 large eggs at room temperature
- 1 TB vanilla extract
- 1 cup rolled oats
- 1 cup chocolate chips
Instructions
- Sift together the flour, baking soda, cinnamon and salt in a medium bowl and set aside. (Sifting helps aerate freshly milled flour.)
- In the bowl of a stand mixer, cream the butter and sugar until light and fluffy, about three to five minutes.
- Add the eggs and vanilla and beat just until combined.
- Gradually add the dry ingredients.
- Mix in the oats and chocolate chips.
- Allow the batter to rest and rehydrate for at least 20 minutes. (You can also cover the bowl and chill the batter overnight.)
- Preheat oven to 350 and line three baking sheets with parchment paper or a silicone baking mat.
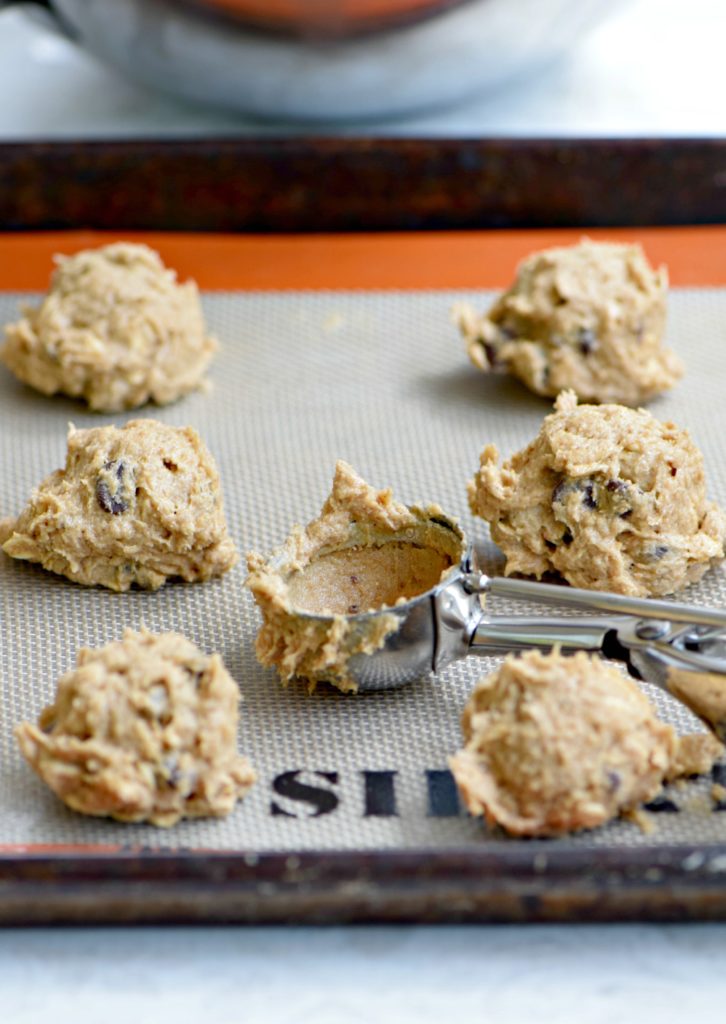
- Scoop batter onto the prepared cookie sheets using a spoon or small scoop. You should get a dozen cookies to a sheet.
- Bake for 10-12 minutes.
- Allow to cool on the baking sheets for a few minutes before removing to a wire cooling rack to cool completely.
So remember, order your Mockmill before August 31 to get the special blog reader package that includes the Flour Power book and starter bags of whole grains (regular and gluten-free options available) and use the coupon code westoftheloop to receive $80 off the package price.
Back-to-school is the perfect time to begin milling your own flour. Imagine serving bread and baked goods that you made using whole grain, freshly milled flour for your family’s breakfasts, lunches and after-school snacks. With a Mockmill, it is easier than ever to bring the taste and nutrition of fresh, whole grain flour to your kitchen.
Full disclosure time: I received a Mockmill free of charge for purposes of writing this post. I will receive a small commission on all Mockmills purchased using my coupon code. All opinions expressed herein are entirely my own.








Those look amazing, Emily! I may have to invest in a Mockmill. Sounds pretty cool. Of course, for now, I’m on Whole 30, so I can only live vicariously through you. 😉