I recently spoke at one of my favorite conferences for food bloggers, Eat Write Retreat. The topic of my session, naturally, was food swapping. Zuzu helped me put together my first-ever Keynote presentation — that’s like Power Point for Macs — with a lot of photos and jazzy effects. Maybe a few too many jazzy effects, but that is the risk you take when you ask a 6th grader to format your presentation.
I spoke to the assembled bloggers about what food swapping is, how it works and the myriad ways in which participating in the food swap movement could enhance their culinary careers. And then, we had our own little food blogger food swap. Maybe the first-ever such event.
The Eat Write Retreat food swap was sponsored by Davidson’s Safest Choice Eggs — eggs being a common ingredient in many food swaps items, from baked goods to granola. The conference attendees could choose whether or not to participate and those that did received coupons for a free dozen eggs with which to make their swap items. The response was overwhelming, proving Eat Write Retreat co-founder Casey Benedict’s theory that food bloggers really just want to cook for one another.
At first, I was not planning to participate in the swap itself because I was concerned that I would be too busy helping the other participants, many of whom had never attended a food swap before. But in the days leading up to the conference I saw pictures on social media of all the delicious goodies that the other bloggers were making. I did not want to be left out of the action.
But what to make? I really wanted to swap some of my homemade jam because that is what I am known for. But many of the other bloggers were traveling to and from the conference by plane and could not bring home an eight-ounce jar of jam. Plus, what about the egg?
And then, I remembered the delicious jam-filled toaster pastries that my friend Gena brought to the last Chicago Food Swap. Bingo! Jam in a convenient travel package, one that happens to need an egg wash.
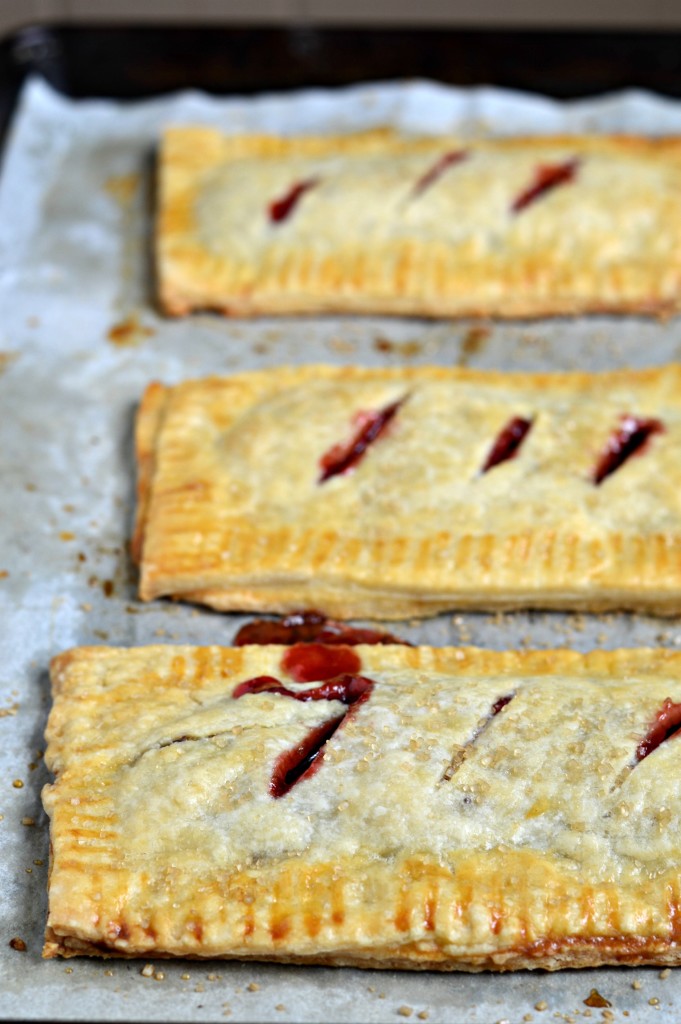
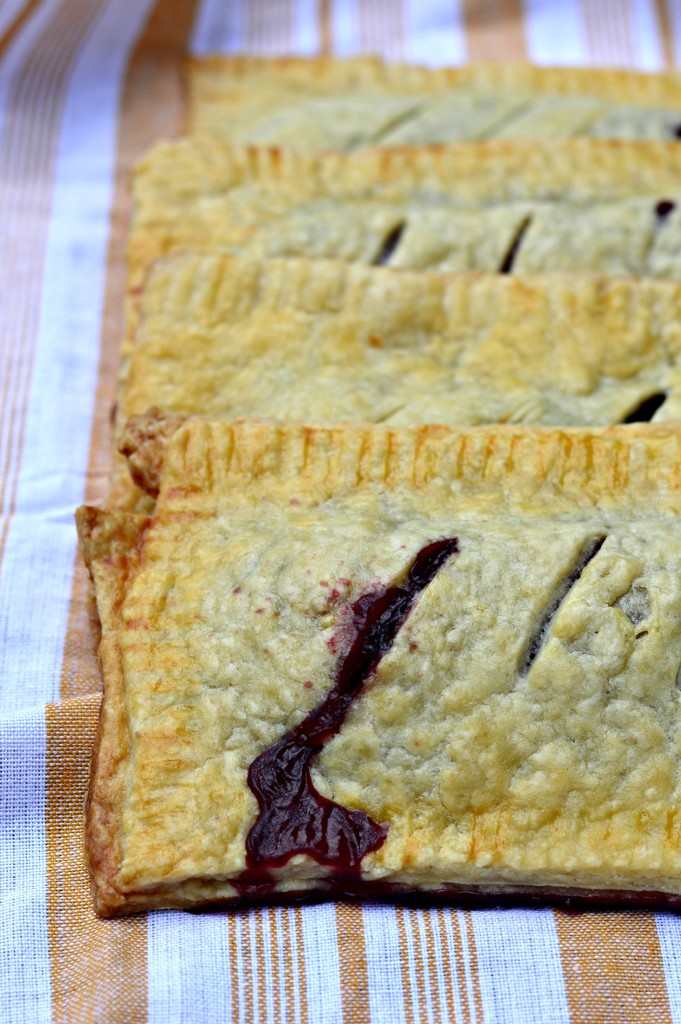
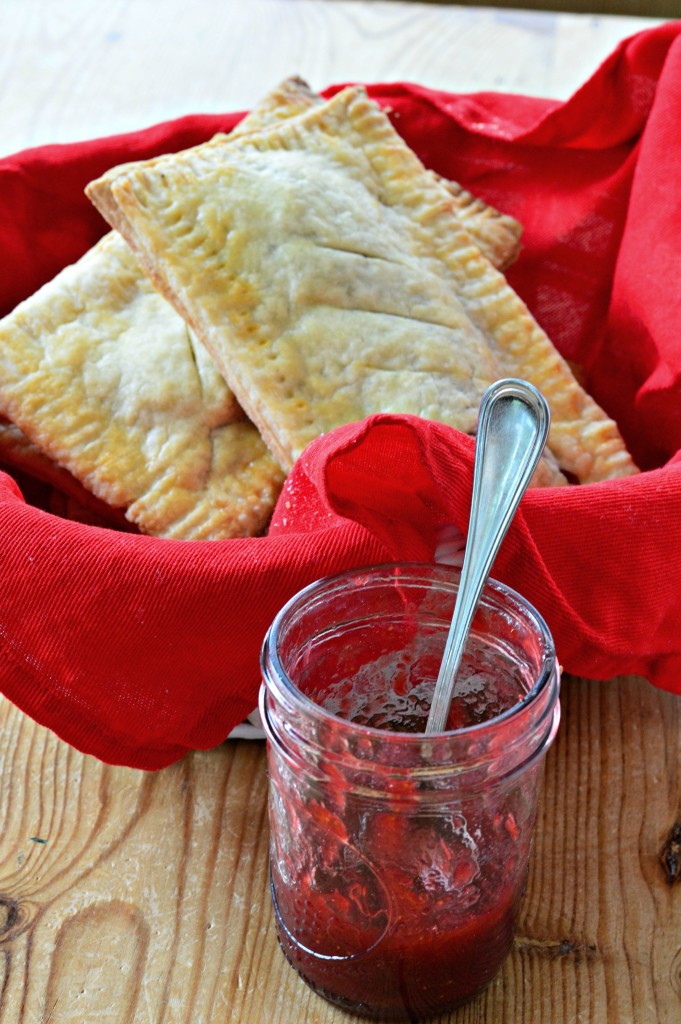
What I ended up making were more jam-filled hand pies than toaster pastries. They are larger than toaster pastries, for one thing, and as a result, hold more jam. And since this project is really all about the jam….Well, you see my point.
The best part about these hand pies was just how much jam they used up. You see, the top shelf of my refrigerator is kind of like a jam ghetto. At any given moment, there could be five or six different half-empty (or is it half-full?) jars of homemade jam. By the time someone finishes one jar, I’m probably made one or two more. It is a bit absurd. But each of these hand pies holds about two ounces of jam. Eight hand pies times two ounces of jam equals, well, let’s just say that I was able to polish off two full jars of jam.
So if you need to make peace with your overzealous canning, or if you just like hand pies, give this recipe a try. The results are not only delicious but pretty darn cute. How adorable would these hand pies look at your next picnic or backyard barbecue? I guarantee that your friends and family would say “awww” before they devoured them.
Then again, if you want to call them “toaster pastries,” you can eat them for breakfast.
- 4½ cups all purpose flour
- 2 TB sugar
- 2 tsp salt
- 14 oz cold unsalted butter, preferably European-style
- 1 cup ice water
- 2 TB red wine vinegar
- 16 oz best quality jam, homemade or store-bought
- 1 egg
- Turbinado sugar (optional)
- Cut the butter into small cubes and place half of the cubes in the freezer. Return the other half to the refrigerator until needed.
- Combine the flour, sugar and salt in the bowl of a food processor and pulse a few times to mix. Add the chilled butter from the refrigerator to the dry ingredients and process until the mixture resembles coarse meal.
- Add the frozen butter to the food processor and pulse until the butter is in small but still visible pieces.
- Combine the vinegar and ice water and add ten tablespoons of the mixture to the ingredients in the food processor. Pulse several times until combined. Pinch a bit of the dough and if it holds together, you do not need to add more liquid. If it is still dry, add more of the liquid, one-half tablespoon at a time. Remove the dough to a bowl or a well-floured board.
- Knead the dough until it forms a ball. Divide the dough into four and wrap each half well in plastic wrap. Place the dough in the refrigerator to relax for at least a half-hour and preferably for several hours or overnight.
- If your dough was chilled for longer than thirty minutes, remove one piece from the refrigerator and allow to soften for ten to fifteen minutes before rolling it out.
- Prior to rolling out the dough, strike it with your rolling pin to flatten. This will soften it further.
- Preheat the oven to 350 and line two baking sheets with parchment paper. Beat the egg with 1 TB of water.
- Liberally dust a pastry board or mat and your rolling pin with flour. (if your board has a tendency to move around, place a kitchen towel underneath it - a great trick!)
- Roll the dough out in a rectangle, rotating it and turning it frequently and adding more flour as necessary to keep it from sticking, until it is ¼ inch thick.
- Cut dough into four rectangles, each 4x7 inches. (If necessary, you can piece together one of the rectangles from odd-sized scraps.)
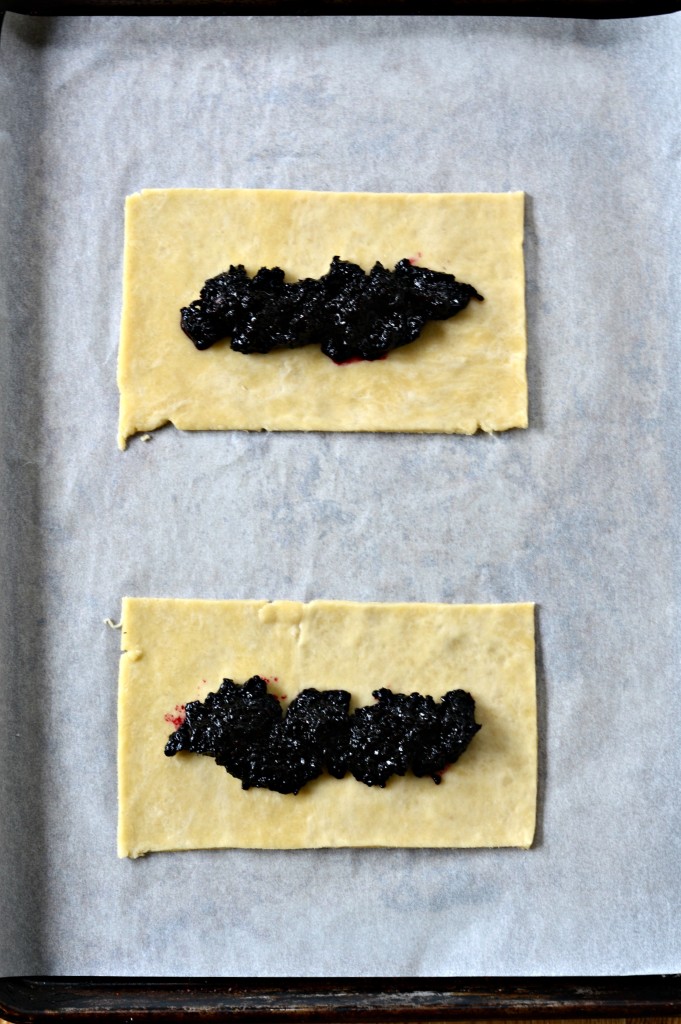
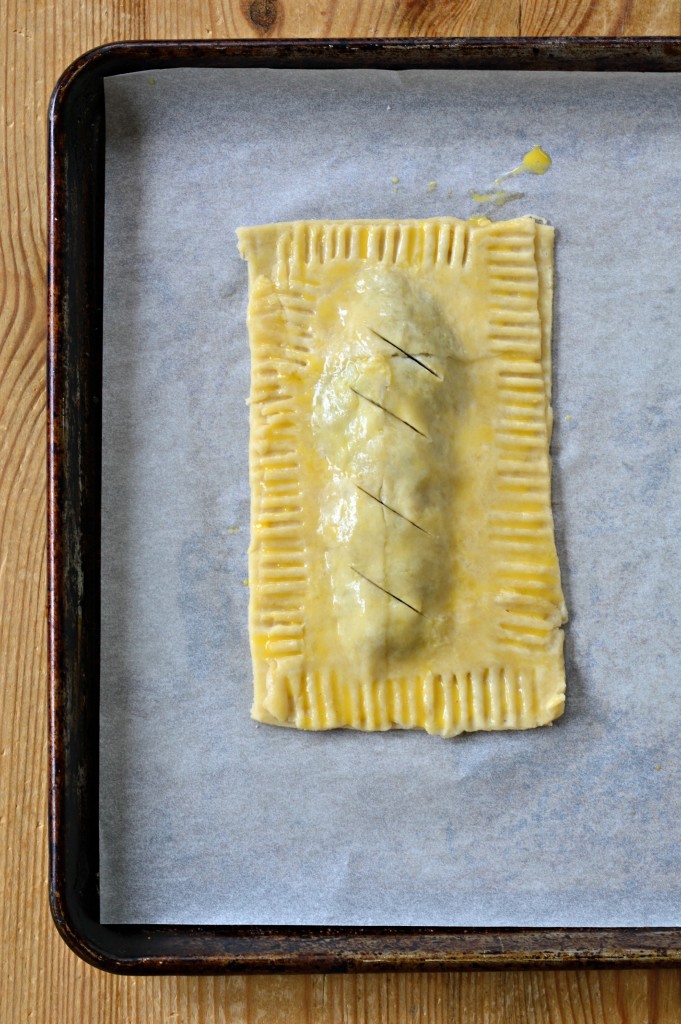
- Lay two of the rectangles on the baking sheet and place approximately two ounces of jam in the center of each, leaving a border around the edges.
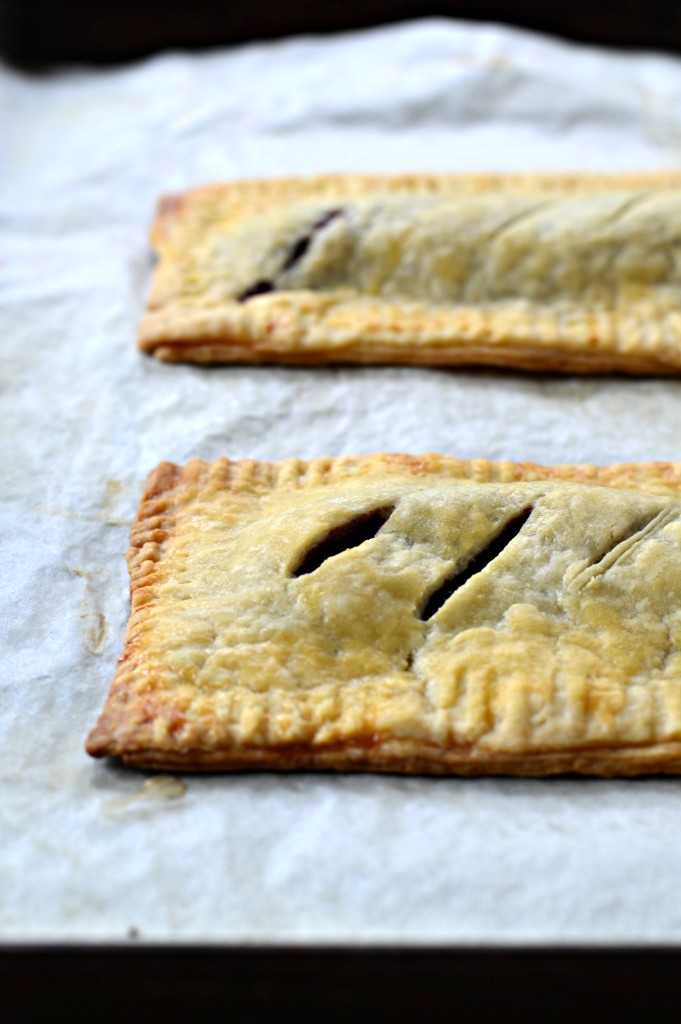
- Cover with the two remaining rectangles. Seal by pressing the tines of a fork along the edges. Cut three to four slits in the top to act as vents.
- Brush the tops of the two pies with the egg wash and sprinkle with Turbinado sugar, if using.
- Chill for at least 20 minutes prior to baking to prevent leakage.
- Bake for 25-30 minutes or until golden brown.
- Repeat with remaining dough.
- (You may be able to combine the scraps after forming eight pies to make one additional pie.)


These looked amazing, and judging by the response from other Eat Write Retreat swappers, they were as delicious as they looked! Thank you so much for your guidance on our first-annual food swap. It was so much fun, and your informative presentation has given many of our attendees the inspiration needed to consider launching their own food swaps. Now, we just need that book of yours to come out! Thanks again!
Thank you Casey for inviting me and I am beyond thrilled at how enthusiastic the attendees were about the food swap. I think there were definitely some converts.
Emily,
I loved the Food Swap. Thank you for introducing me to new ways to inhale small bites of scrumptious food! The hand jam pies were divine. It was so much more than just swapping food – it was the bonding and sharing aspect that I liked the best. Hope to see you at another one soon.
Cara, I have dates finalized for the Chicago Food Swap through the end of the year. Whenever you want to come, let me know and I will send you a complimentary registration. You are 100% right that the best thing about a food swap is the community and the food is like an added bonus! Tell me again what you made?
I was totally bummed I didn’t get any of these but now I can make them, my kids will be thrilled too if I let them have any…
LOL. I love the reference to the top shelf of your fridge being a “jam ghetto”. I can relate. =-) Thanks for the idea.
Thanks for reading Alison! As I said, we all have to make peace with our overzealous canning somehow!