In my view, the best reason to make brownies from scratch is so that you can add cheesecake to them. I’d turn down the chocolatiest, fudgiest brownie any day for a swirly, marbleized cream cheese brownie. The slight tanginess of the cream cheese is the perfect foil for the richness of the chocolate. Better than either cheesecake or a plain brownie, the cheesecake brownie is greater than the sum of its parts.
Fortunately for me, my kids agree with me about cheesecake brownies and regularly beg me to make them. It’s to the point that I keep an 8 oz. block of cream cheese, such as Cabot Creamery Cream Cheese, in the fridge at all times just in case I have to whip up a batch of these brownies on the spur of the moment.
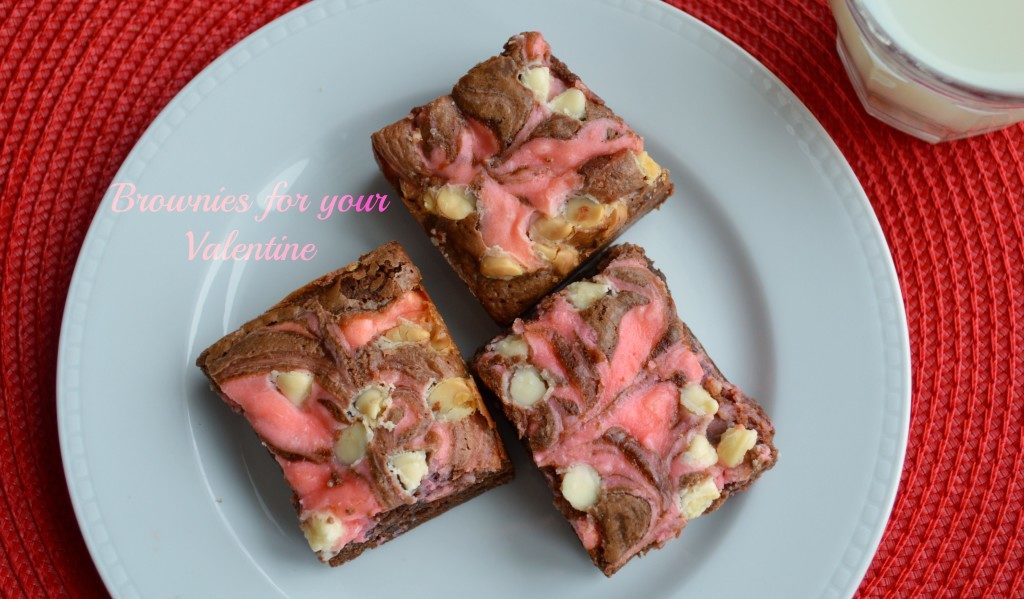
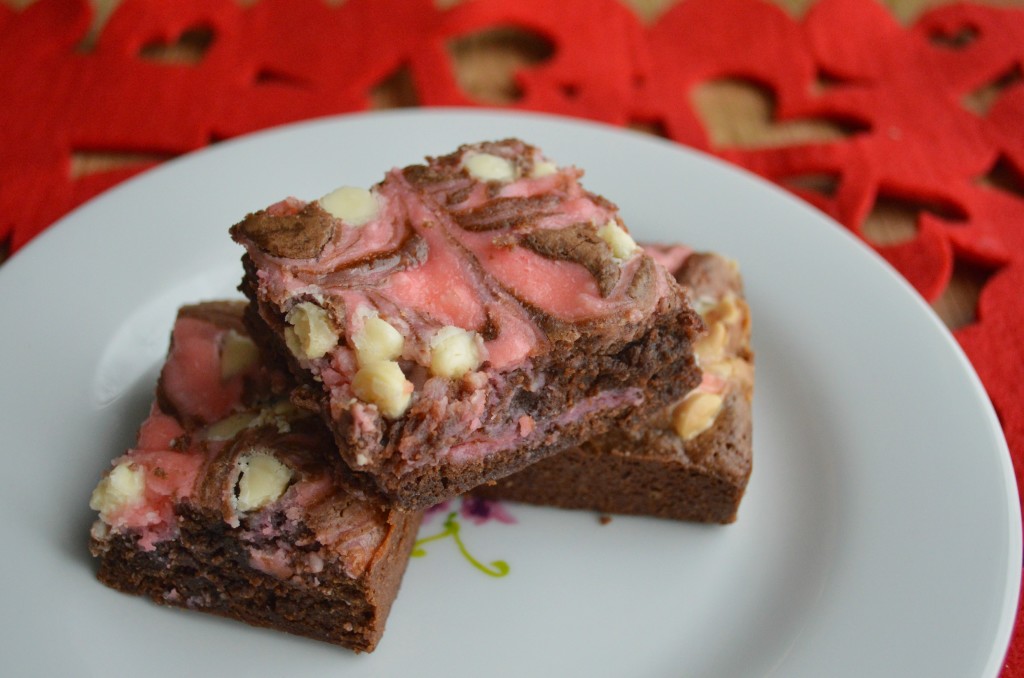
Now that February 14 is less than a week away, I decided to make a Valentine’s Day version of my kids’ favorite cheesecake brownies. The pink color is achieved with the simple addition of a few drops of red food coloring to the cheesecake batter. You could even cut the brownies into hearts with a cookie cutter for added cuteness.
These brownies are exactly the kind of treat that I would love to bring to a child’s classroom Valentine’s Day party. As it is, our school requires that all classroom party food be prepared in a commercial kitchen and labeled with allergy information. I understand the school district’s position and, as the parent of a child with food allergies, am even grateful for the district’s diligence. But at the same time, I feel nostalgic for the days before this policy, back when Zuzu was in elementary school, and I could make all kinds of holiday-themed treats for her class parties.
In all the years I have made these cheesecake brownies, I have never once been satisfied with the marbleization of the layers. I want my brownies to look as perfectly marbled as bakery brownies, but I have never even been close. Luckily, they still taste amazing. If you’ve got the perfect method for making well-marbled cheesecake brownies, I sure wish you would tell me.
What are you doing to get ready for Valentine’s Day?
- 4 oz. semi-sweet chocolate
- 6 TB (3/4 of a stick) unsalted butter
- 2 eggs at room temperature
- 1 cup sugar
- 1 tsp. vanilla extract
- A pinch of salt
- 1 cup flour
- 8 oz. cream cheese, softened
- ¼ cup sugar
- 1 egg at room temperature
- ½ tsp. vanilla extract
- 1 TB flour
- 3 drops red food coloring (optional)
- ¼ cup white chocolate chips (optional)
- Preheat oven to 350 and grease a 8x8 baking pan.
- Gently melt the chocolate and butter either using a double-boiler set over simmering water or using a heavy-bottomed pot over very low heat. Stir to combine and once melted, set aside to cool.
- Scrape the cooled chocolate mixture in the bowl of a standing mixer.
- Add the eggs, sugar, vanilla and salt and mix well.
- Add the flour to the brownie batter and beat until smooth.
- Pour ¾ of the brownie batter into the prepared pan and smooth the top using a knife or spatula dipped in water. Set aside the remaining ¼ of the batter.
- If you only have one bowl for your standing mixer, wash and dry it. Alternatively, you can use a handheld mixer for the cheesecake layer.
- To make the cream cheese layer, beat together cream cheese and sugar.
- Add the egg, flour and vanilla and food coloring (if using) and mix until smooth.
- Drop dollops of the cheesecake batter on top of the brownie layer until almost covered.
- Drop dollops of the remaining brownie batter on top of or in between the dollops of cheesecake batter.
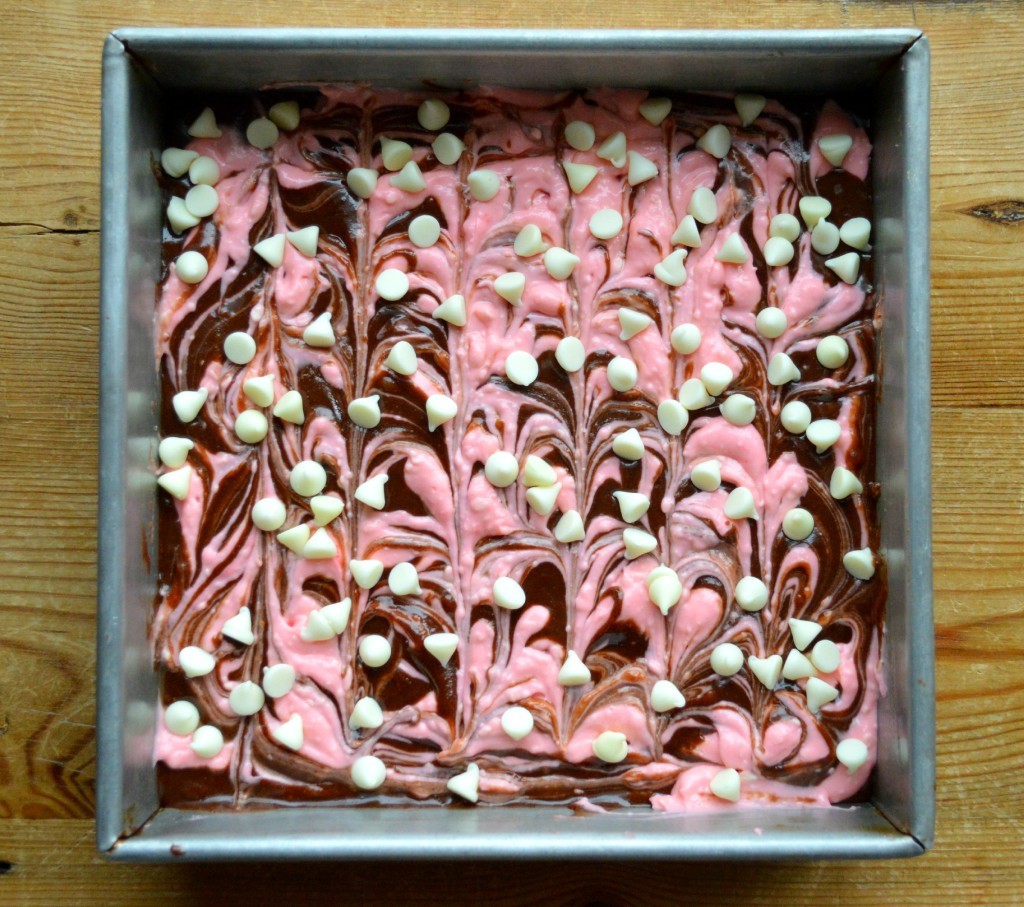
- Draw knife through the layers of brownie and cheesecake batter to swirl them. (If they are not swirling well, try baking them for five minutes and trying again.)
- Sprinkle top with white chocolate chips (if using.)
- Bake for 30 to 35 minutes until cheese cake layer is almost set.
- Cool pan on a cooling rack prior to cutting.
