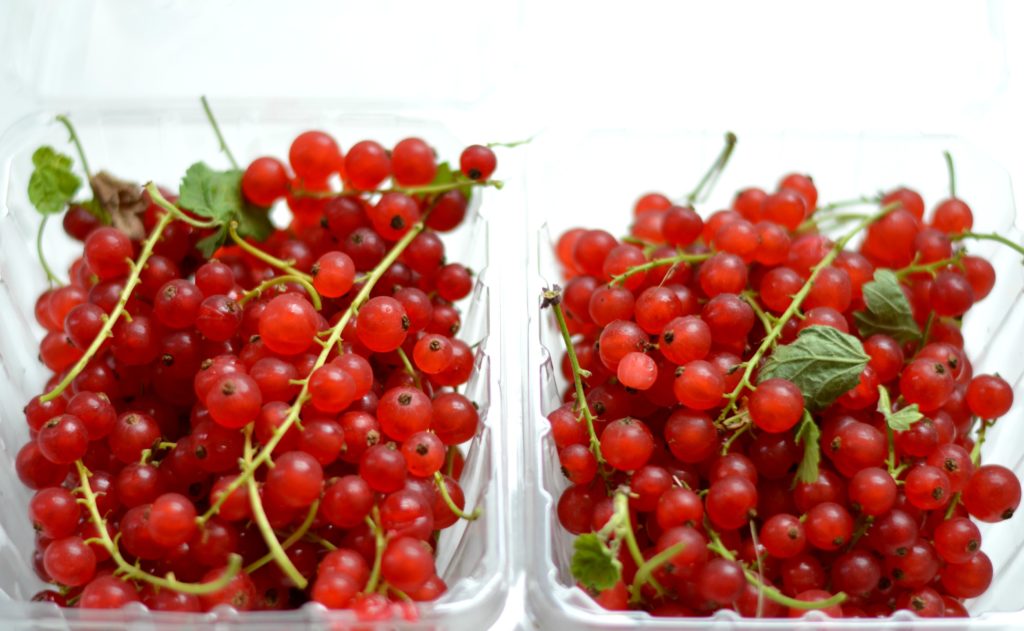
Perhaps you have noticed red currants, glossy and ruby-red, at the farmers market lately. If so, consider yourself lucky. It can be hard to find these members of the Ribes family. Even if you noticed them, I bet you did not buy them. They were expensive, right? And you weren’t sure what to do with them. Red currants are shockingly expensive, but I like to buy a few pints every year to play with.
Tart, tiny currants – they are foreign to most Americans. But the Europeans still eat — and drink — them frequently. The French, for example, make a delicious liqueur out of black currants called Crême de Cassis. Mixed with white wine or champagne, cassis makes a refreshing apératif called a Kir (or a Kir Royale if its champagne.) Fresh currants are not to be confused with the small dried fruit of the same name, which are more like a grape. Currants are a berry and grow on shrubs, not vines like grapes do. (Dried currants were once small grapes.)
As one might guess from their bright colors, currants are packed with nutrients, including vitamin C, potassium, magnesium, zinc, folic acid, vitamin A and flavenoids. Black currants, which have an intense blue-black hue, have been shown to act as an anti-inflammatory and to stimulate the immune system and fight infection. No wonder they are so popular in northern and eastern European cuisine.
While these little powerhouses may be too tart to eat out of hand like we do with berries, they are wonderful in baked goods, especially when mixed with other fruits, or preserved as a jam or syrup. Raspberries and red currants, for example, are a dynamite combination for a cobbler or a jam.
Currants can be a bit of a chore to deal with. It is important to remove their tiny stems before cooking because the stems can impart a bitter flavor. Currants can also make baked goods or preserves seedy. That is one reason to use a small amount of them and mix them with other fruits.
Another way to avoid an unpleasant seedy texture from currants is to use their juice to make jelly. Red currant jelly is an old-fashioned confection that I find to be terribly romantic. One of my favorite novels, Eva Moves the Furniture, is set in a small town in Scotland between the World Wars and the title character has her first encounter with the mysterious companions who will guide and shape her life while picking red currants. Later in the book, Eva and her aunt make red currant jelly for the church fête.
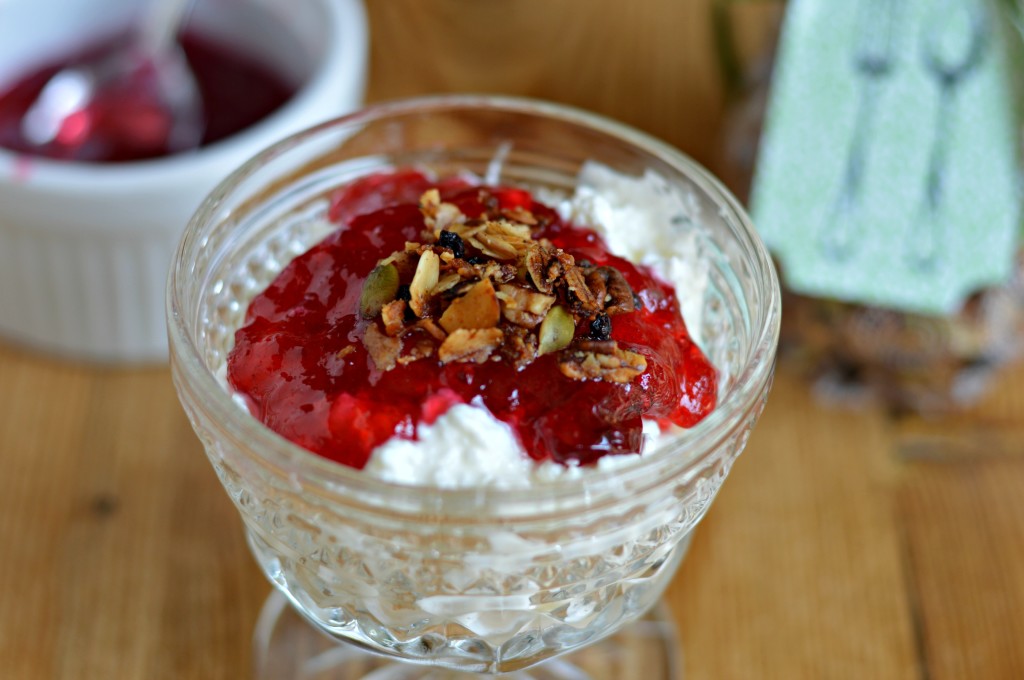
Red currant jelly is often used to glaze fruit tarts or strawberries. Because it is tart, it is also used in savory dishes, such as gravies and sauces for meat. Indeed, red currant jelly, along with port, mustard, vinegar and ginger and orange zest, is used to make Cumberland sauce, a classic British accompaniment to game and lamb. There is no need to get that fancy, however. Red currant jelly is lovely all on its own: on toast or pastries, or swirled into yogurt.
To make red currant jelly, you need red currant juice. I follow Linda Ziedrich’s method for juicing red currants. Weigh your red currants and for each pound of currants, you will need 1/2 cup water. Combine the currants and water in a large saucepan and simmer over low heat for thirty minutes, mashing the currants a bit. Then drain the fruit and juice through a damp jelly bag for six to eight hours. You are not supposed to press on the fruit or squeeze the bag because it will make the juice cloudy, but I can never resist pressing on the fruit to extract all the juice possible. You can refrigerate the juice until you are ready to make the jelly.
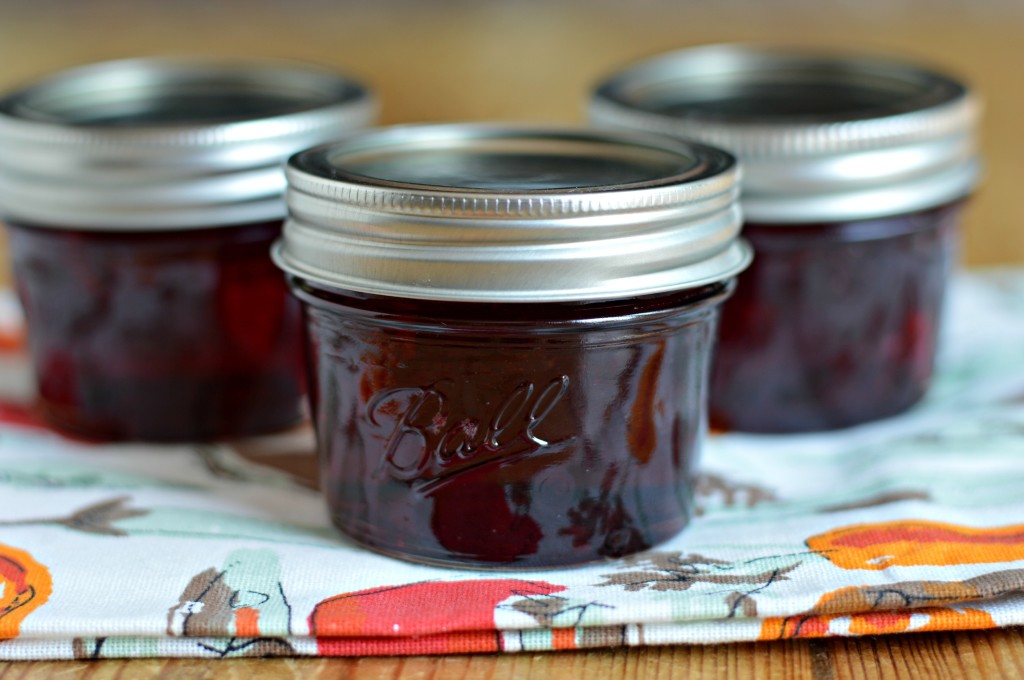
Because this recipe yields such a small amount, you can skip the whole water-bath process – especially if you don’t enjoy canning — and simply store the jelly in the refrigerator. Or keep one jar for you and give one jar to a friend who will appreciate the romantic, old-fashioned nature of red currant jelly.
- 2½ cups red currant juice
- 2½ cups sugar
- Prepare a water-bath canning pot and two 8-oz jam jars (or 4 4-oz jars). Place a small saucer in the freezer.
- Combine the red currant juice and sugar in a large, wide saucepan and bring the mixture to a boil, stirring to dissolve the sugar.
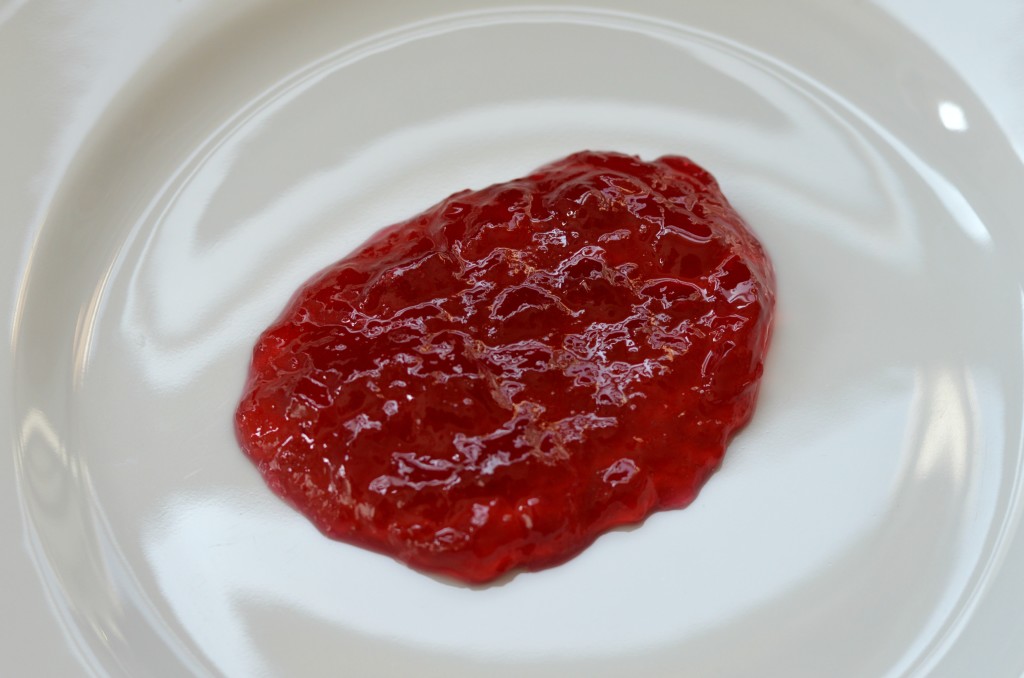
- Turn heat down to medium and boil the mixture until it reaches 220 degrees, stirring frequently to prevent scorching and skimming off any foam or skin that accumulates. (This happened relatively quickly for me and the mixture still seemed quite liquid. You can also test whether the mixture has reached the gelling point by placing a small amount on the chilled saucer, returning the saucer to the freezer for one minute and then examining the jelly. If it seems set and wrinkles when pushed with your finger, it is ready. )
- Remove the saucepan with the jelly from the heat and skim off any foam or impurities.
- Ladle the jelly into the prepared jars, leaving ¼ inch headspace. Bubble the jars and wipe down the rims.
- Process the jars in a boiling water bath for ten minutes. Allow to cool five minutes before removing the jars from the water bath.
- Cool jars on a counter. Check the seals and store in a cool, dark place for up to one year.
